Categories
Proxmox

Installing OpenWRT In Proxmox LXC

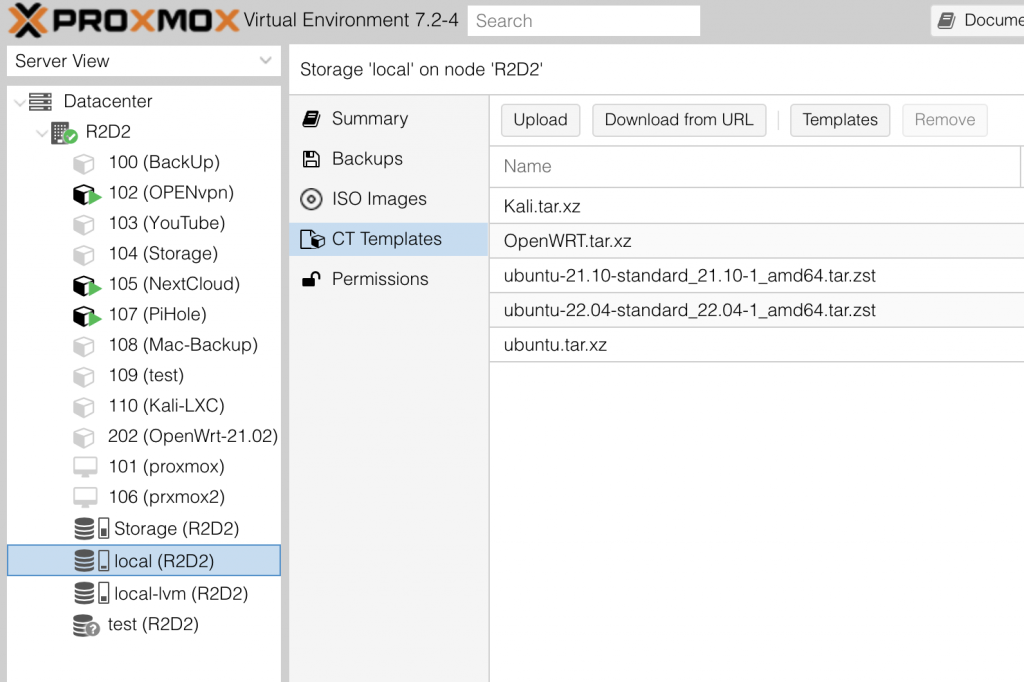
OpenWRT templates do not come with Proxmox so we are going to have to download them from LXD.

Go to local > CT Template > Download from URL

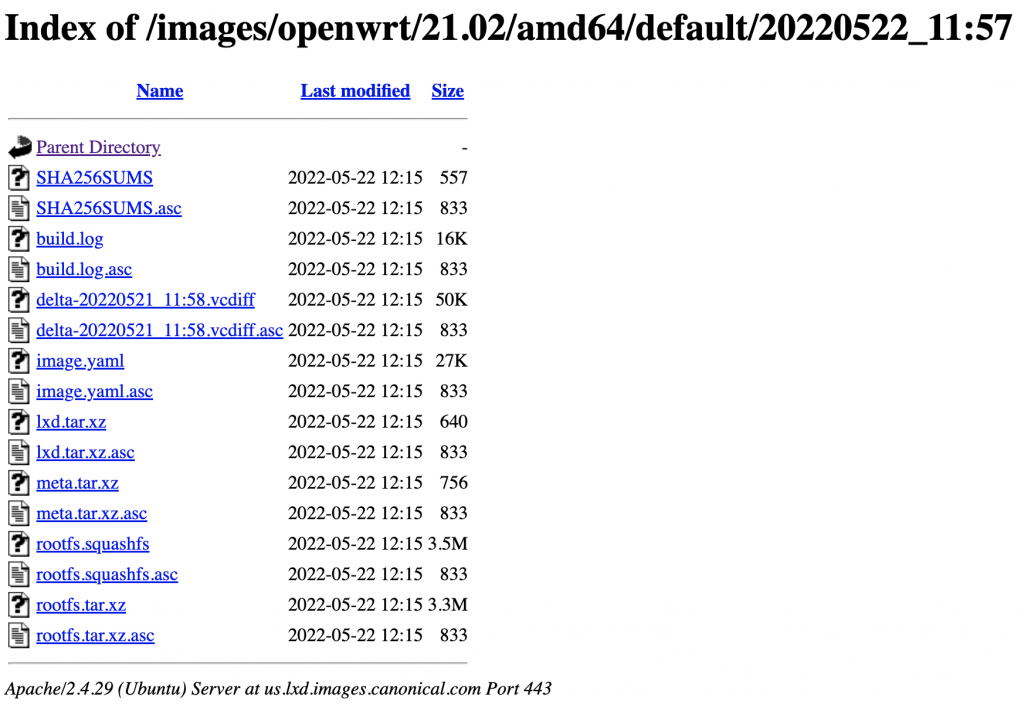
You can find the OpenWRT LXD Template at

https://us.lxd.images.canonical.com/images/openwrt/

choose the version that you wish to use here we are using an amd64 version of the 21.02 release

find the rootfs.tar.xz file > right click the file > select Copy Link Address

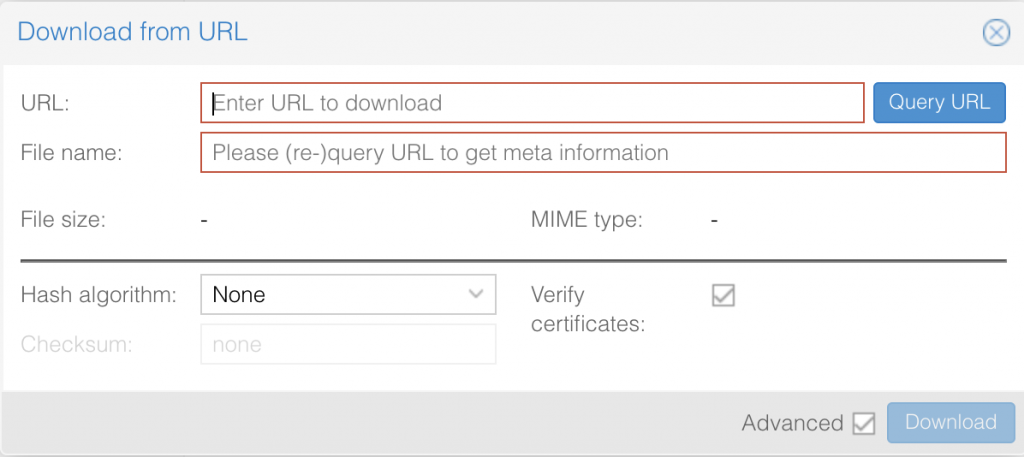
Go back to your web interface and Past this in the box next to URL

Enter File name I will be using OpenWRT.tar.xz

Now go back to the LXD web page and open SHA256SUMS

Copy the sum for rootfs.tar.xz

Go back to your web interface select a Hash algorithm of SHA256

Past the Checksum in the checksum box

Then click Download

Now that we have the OpenWRT template we need to make the CT inside of Proxmox as of right now we can not use the Create CT button in the web interface to do this for the OpenWRT template so we are going to have to use Shell to Open shell for your server from your web interface select your server > click Shell

Now that shell is open we can give Proxmox the command to make the CT below is the command that I used for this you might have to change the CTid number, hostname, or template name for your system

pct create 202 /var/lib/vz/template/cache/OpenWRT.tar.xz --arch amd64 --hostname OpenWrt-21.02 --rootfs local-lvm:202 --memory 1024 --cores 2 --ostype unmanaged --unprivileged 1

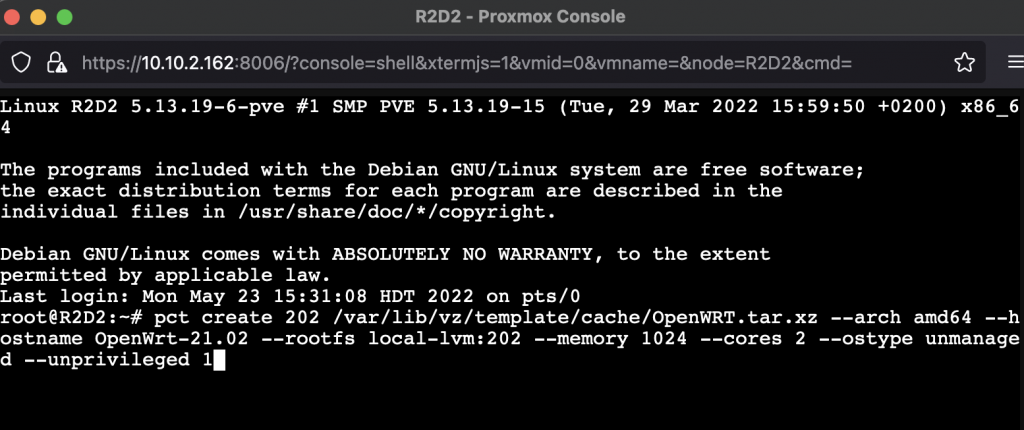
This will make a CT but the CT will have no network access so you will have to go back to the web interface and create your network setup.

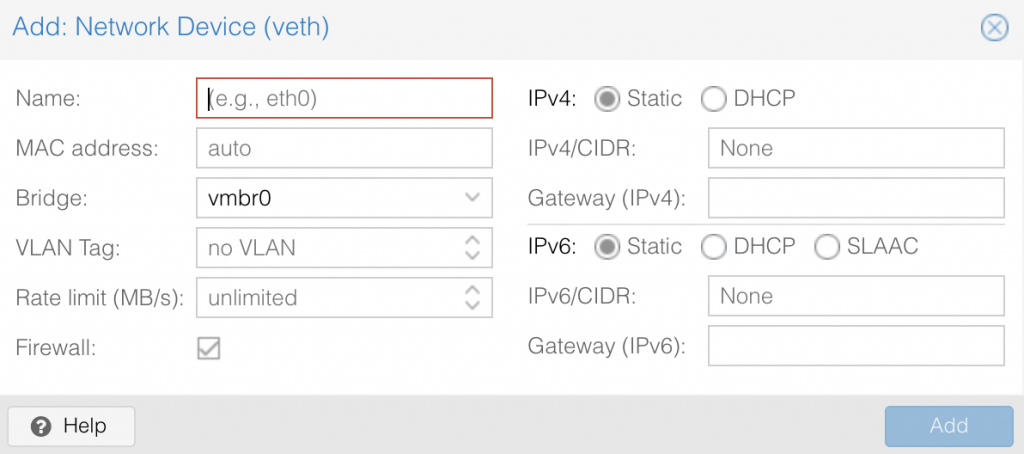
To do this select your new CT > Network > Add

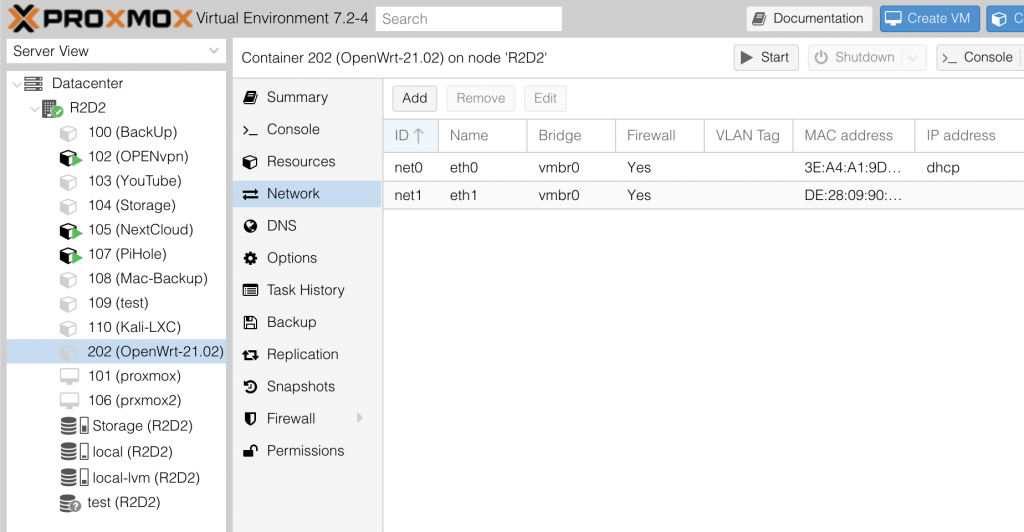
The first port that we will add will have the Name of eth0

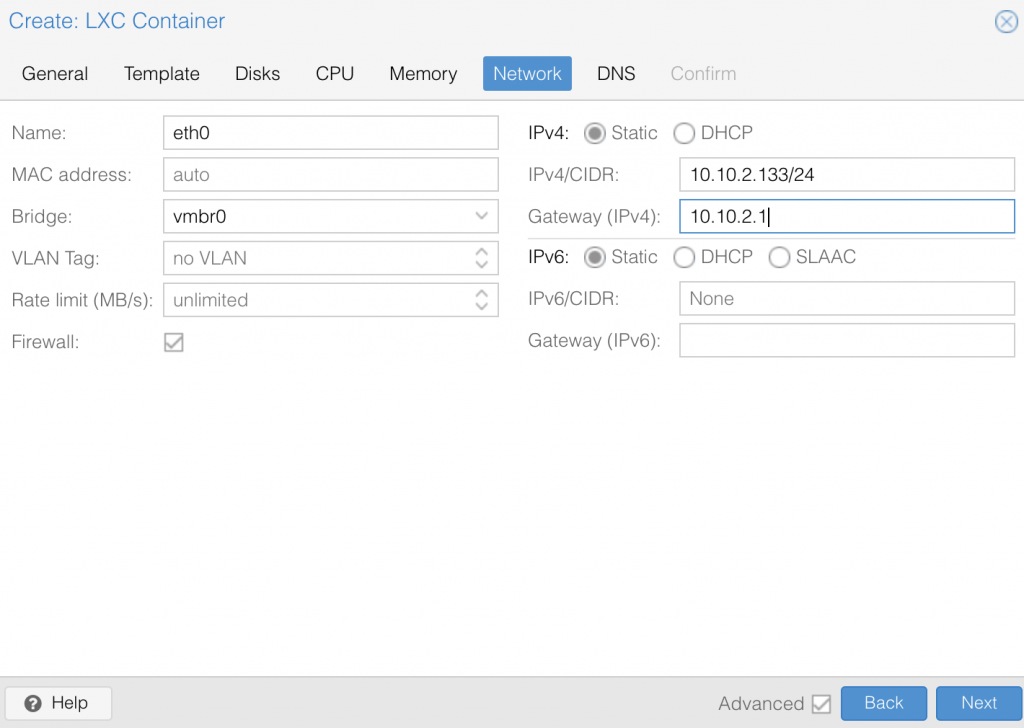
Fill out IPv4/IPv6 as you feel fit this will be your OpenWRT WAN port.

For the second port use the Name of eth1

For this port change Bridge, VLAN Tag, and IPv4/IPv6 as you need to for your needs

Now you can start your OpenWRT CT

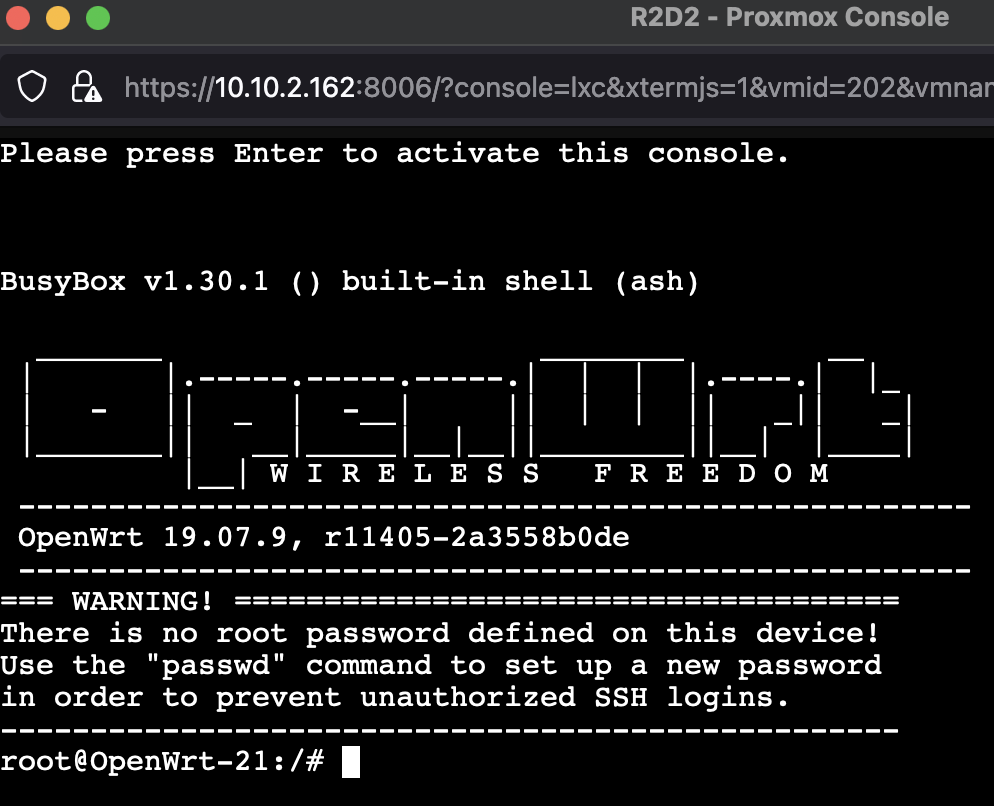
now open your web browser and go to the IP address of your OpenWRT CT

Username is root

Password is blank

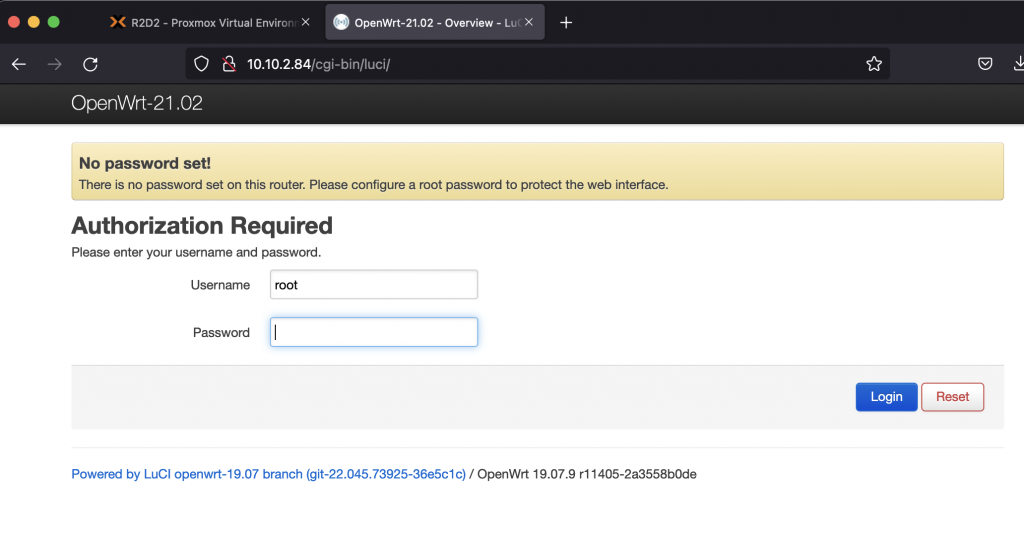
You might want to tack the time right now to setup a password.

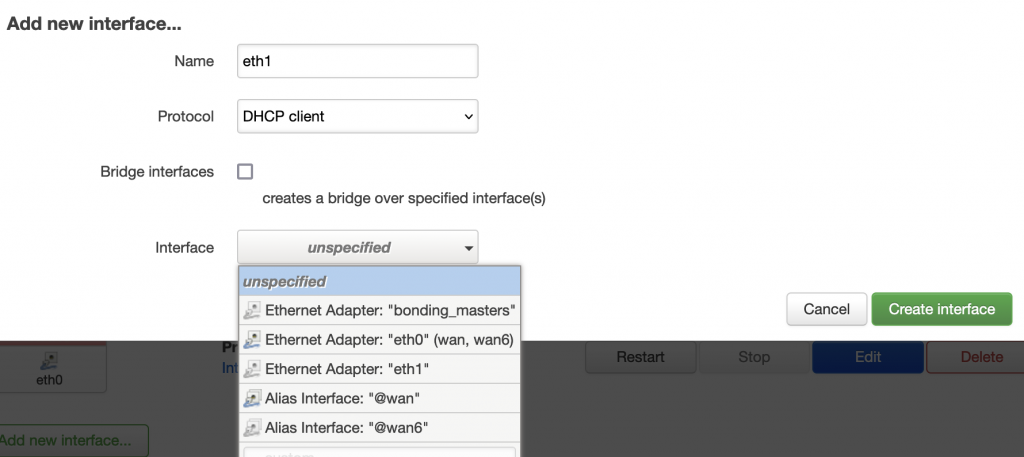
Go to Network > Interfaces

Click Add new Interfaces

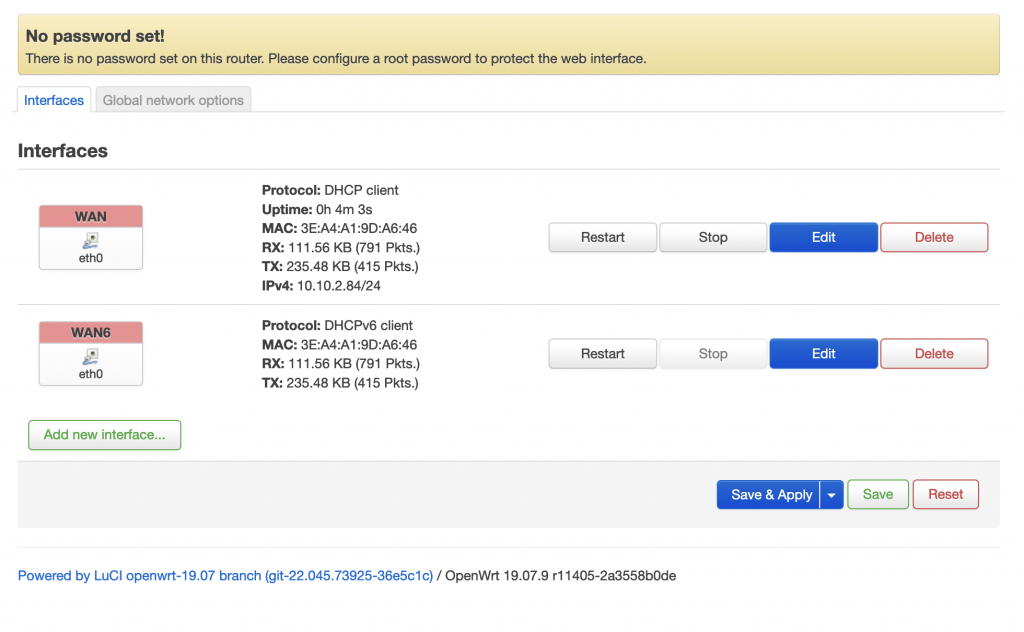
Enter a name for this port of eth1 and select eth1 under interfaces. You will need to fill out the other settings as you need for your network setup.

Forum post that help in the making of this project: https://forum.proxmox.com/threads/openwrt-lxc-installation-error.106991/

Categories
Proxmox

Installing with Snap Inside of Proxmox Container

If you are going to run snap in a Proxmox container the first thing that you are going to need to have is a container if you already know how to make a container you can skip to the point where we are installing software.

The first step in setting up a container is to get the image that we will use for the container. to do that open the dropdown for your server labeled here as R2D2. Then go down to local and select it, then select CT Templates, after selecting CT Templates, select Templates.

With CT Templates open select the image that you plan on using for this guide I will be using Ubuntu 22.04, after selecting the image click download.

After your image is downloaded it will show up in the CT Templates folder of the local drive.

Enter the hostname for you CT or container, then fill out your root password, finish by clicking Next.

At this screen select the Template that you downloaded.

select the drive that you will store the CT on and set the max size for the CT.

Set the number of CPU cores.

Set the amount of RAM to use for your CT.

Enter the IP address fallowed by the CID sub net mass for most home networks smaller then 254 systems this most likely will be /24. Then enter the address to the gateway on most home networks this will be the ip address for your router.

If your Proxmox server was setup right when installing your should not have to fill out this page, so click Next

If all looks good click Finish.

When the CT is fully setup it will say TASK OK close the window.

Select your new CT under the drop down for your server, then select Options and under Options select Features and click Edit.

A window like this will appear and select FUSE and click OK

To start your CT click Start, then Console to display a command promote.

To log in enter a username of root and the password that was entered in the CT setup.

To update the CT enter the command

apt update && apt upgrade -y

Now with the CT up to date it is time to install the software that we will use to install snap packages to do this use the command

apt install squashfuse snapd -y

Now it is time to install your snap package. to do this you are going to use the command below. This might fail the first time. The package I will install today is called hello

snap install <package name>

This is what it will look like if it fails. The problem is due to apparmor.

Rerun the command and it will complete.

Categories
Projects Proxmox

Using a Desktop with a LXC Proxmox 7

If you are like me and spend a good amount of time reading about all things home Lab you might have read and have been told that you can not have a Desktop with a LXC well I have found a way to in a reddit post.

The first thing you are going to need to do is to setup a container in Proxmox

now that you have a Ubuntu or Debian LXC setup it is time to start installing the desktop and the protocol that we use to view it.

the first thing to do is to update your system to do this run the command.

$ apt update && apt upgrade -y

after your LXC is up to date lets install the Desktop with the command.

$ apt install -y xfce4

you could also use LXDE or Mate if you would like.

Now we are going to install X2go X2go is what we will be using to view the desktop that we just installed to do this we will run the commands.

$ apt install x2goserver x2goserver-xsession -y

Note: you will also need to install the X2go client on your computer I will not show you how to do this today as windows mac and linux are all different.

Now that you have x2Go installed we need to add a new user as we only have a root user at this time and SSH will not work with user root by default to make a new user run the command.

$ adduser <username>

at this point you should have a working Desktop inside of an LCX.

Note: X2go will also let you run programs.