If you are here you are most likely looking to add a HDD or SSD to your Proxmox server. This is just what the tutorial will be showing you how to do.
The first this that you are going to do is open your Proxmox web interface. With you web interface open setart by selecting your server on the left, then on the right select Shell.
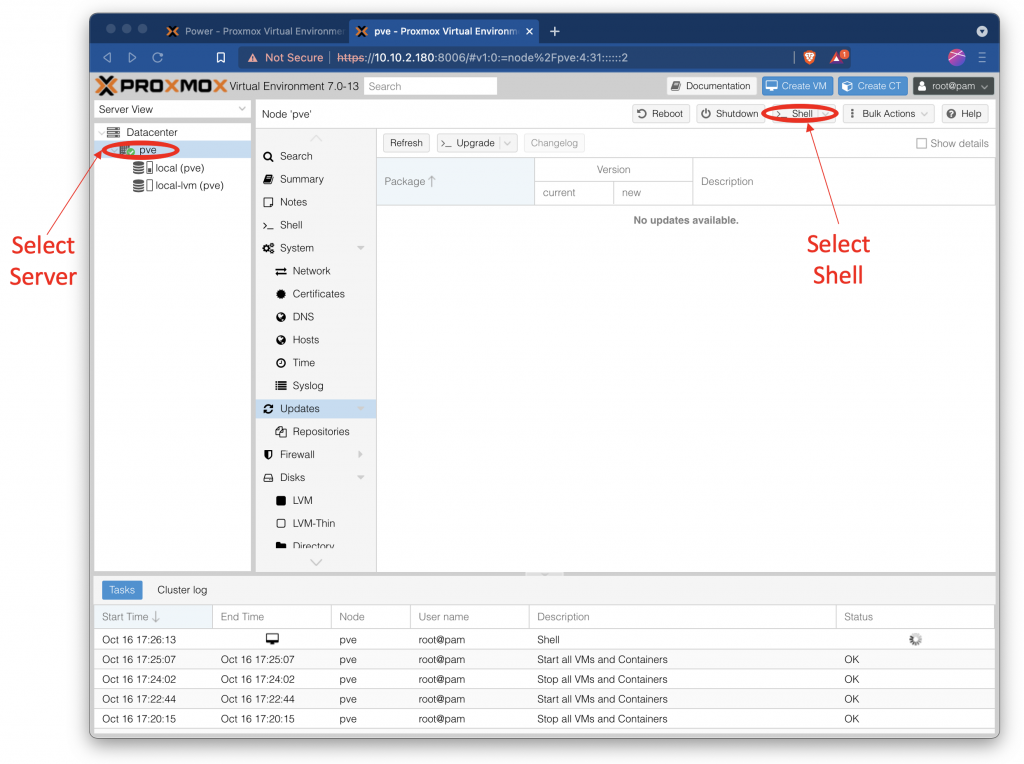
Now with Shell open you will need to run a command to show the available drives on your Proxmox server.
$ lsblk
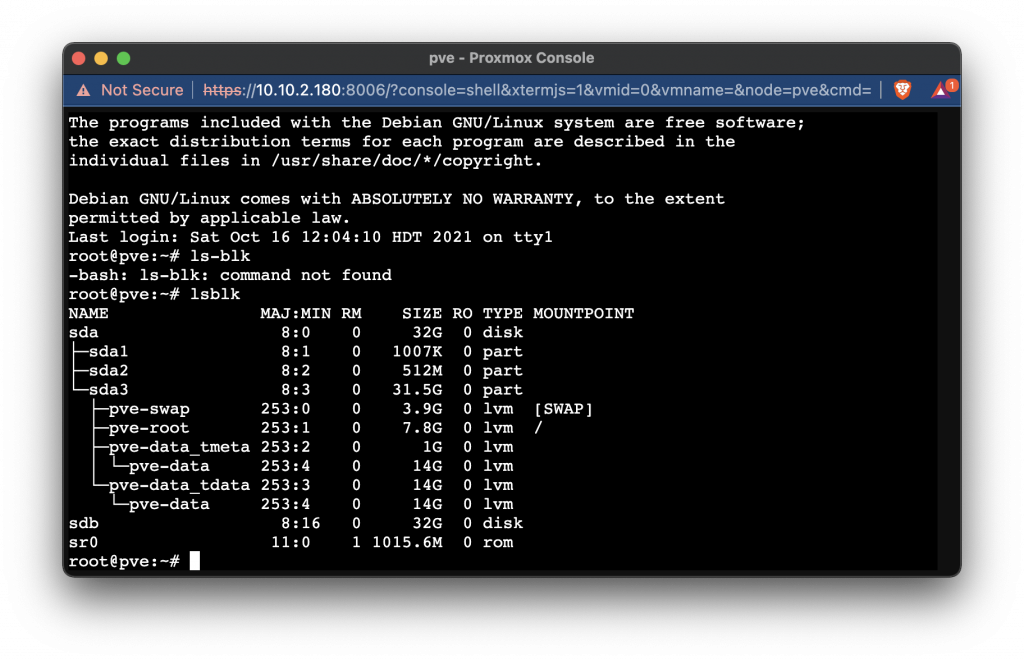
Now that we know what the drive that we are using is called (sdb for this How to) it is time to install some software. We will use Parted for this How to because I find it easier to work with and it supports drives larger the 2tb.
The first thin that you need to do to install Parted is update you repositories you can do that by running
$ apt update
Now that the repositories are up to date it is time to install Parted
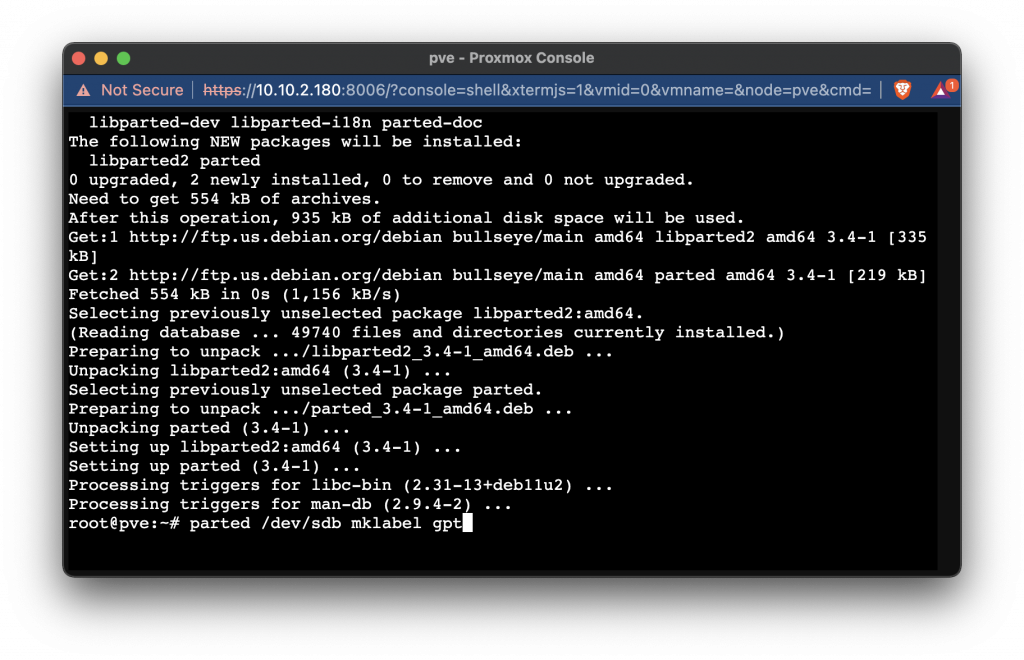
$ apt install parted -y

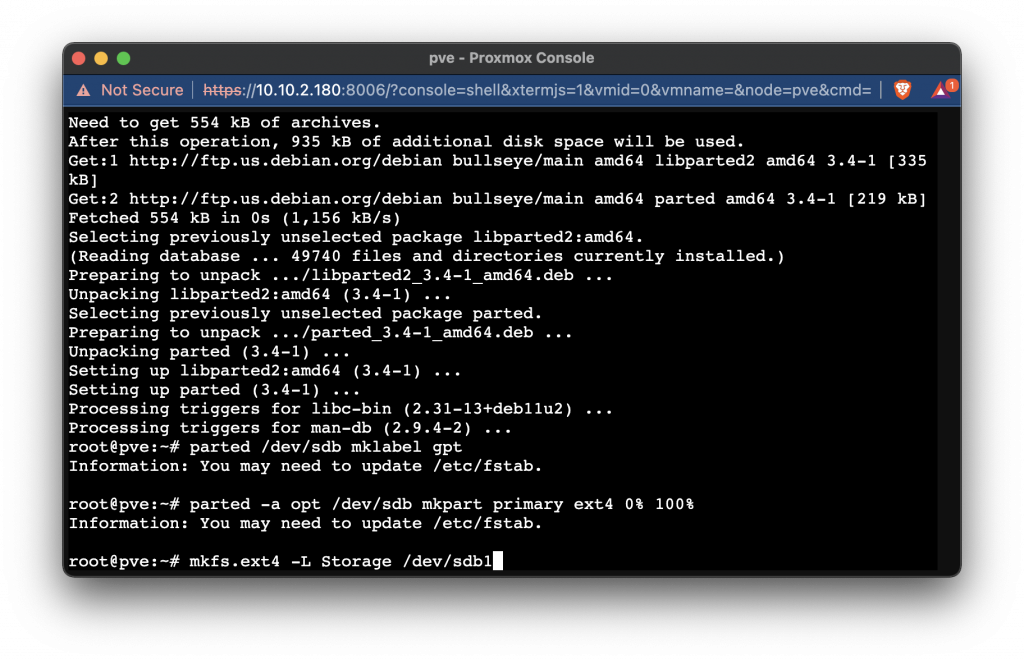
Ok with Parted installed it is time to start preparing the drive for use with Proxmox. The first step is going to apply a drive type label.
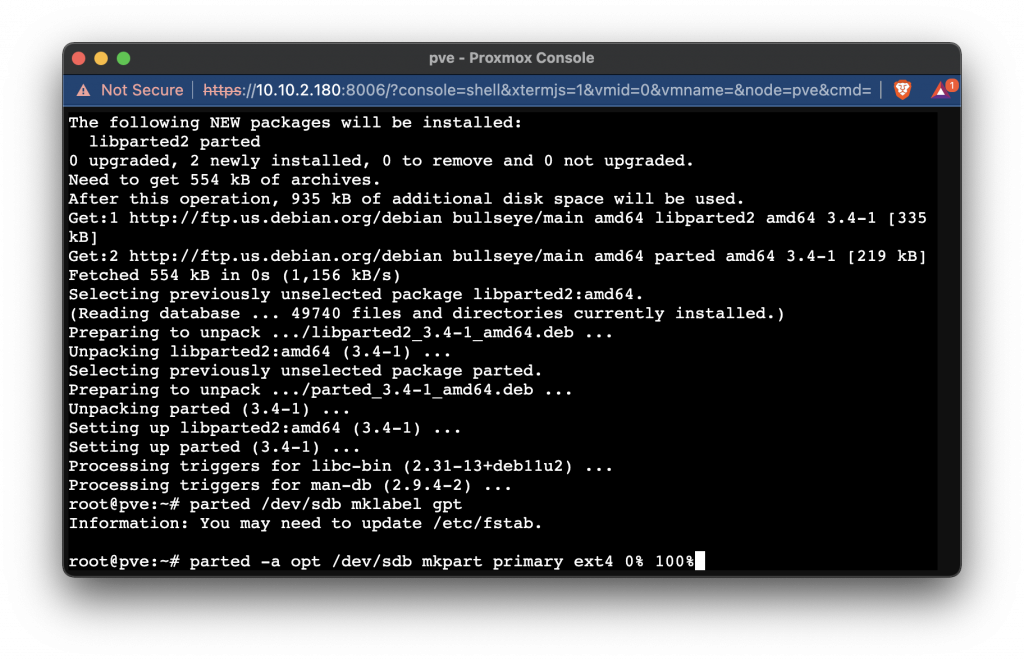
$ parted /dev/[drive name] mklabel gpt
The next command will partition you full drive.
$ parted -a opt /dev/[drive name] mkpart primary ext4 0% 100%
This next command gives your drive a name this name just makes it easier to work with, the name that I will be giving the drive today is Storage.
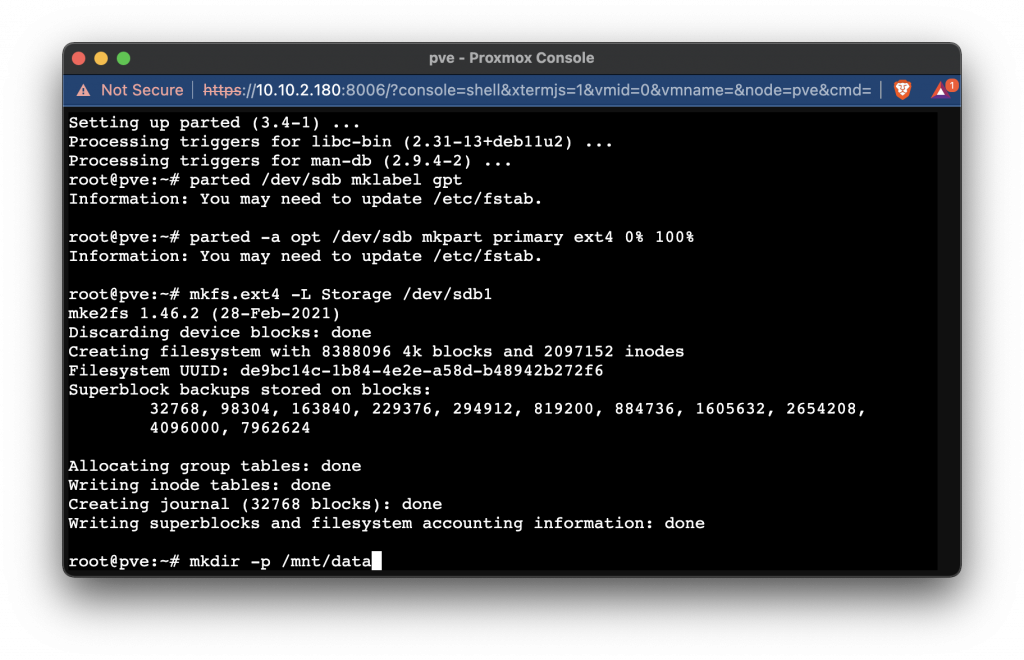
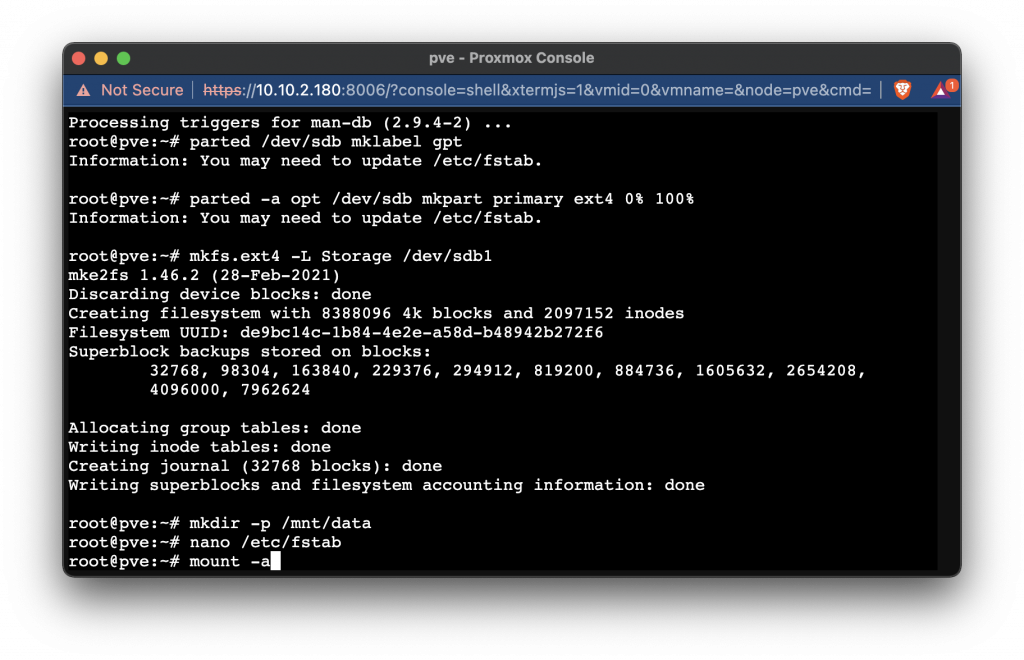
$ mkfs.ext4 -L [your drive name] /dev/[found drive name fallowed by 1]
Now we need to make a folder for Proxmox to mount the drive to to do this you will run.
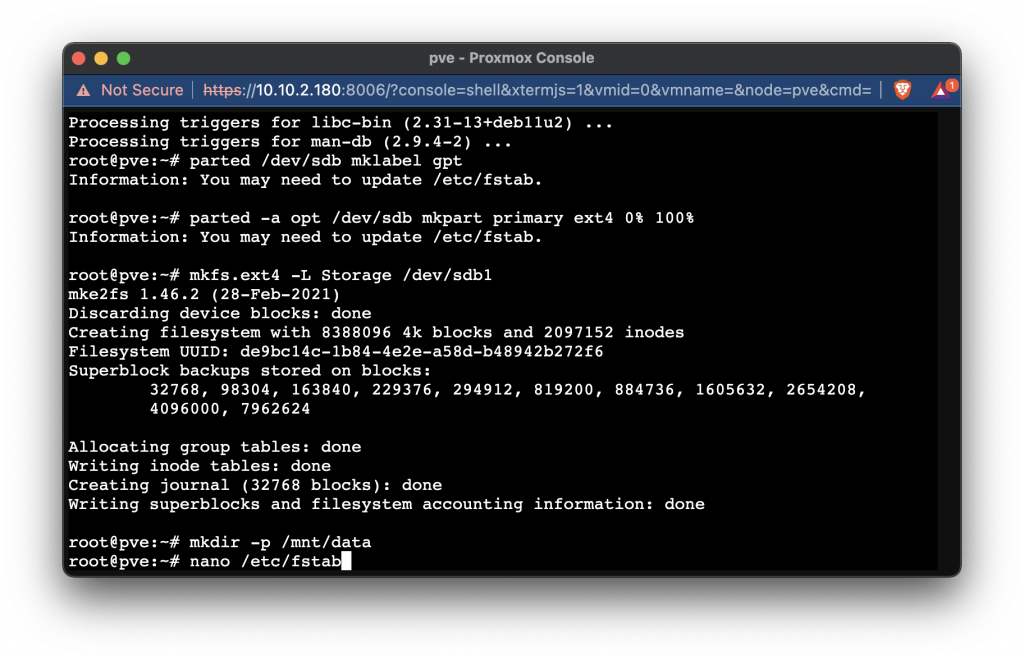
$ mkdir -p [path of mount folder]
With the mount folder made it is finally time to update fstab for the new drive you do this so that the drive will auto mount with reboots. To open fstab and edit it we will use the command.
$ nano /ect/fstab
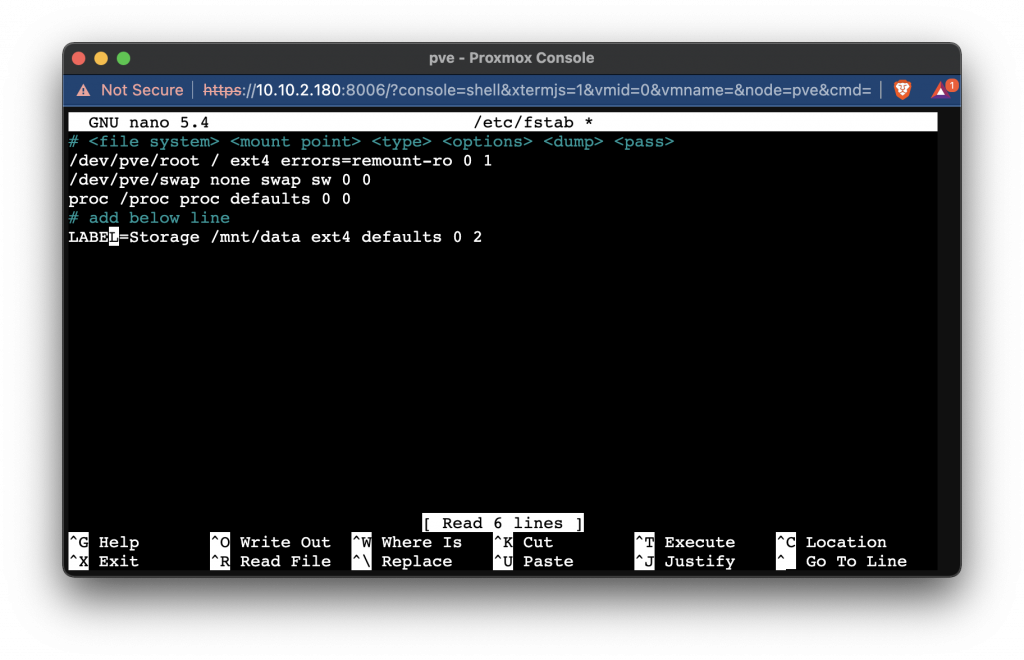
Inside of fstab you need to add a line so that the drive will auto mount.
# LABEL=[your drive name] [mount path] ext4 defaults 0 2
to exit and save press control + x the y to save and enter
Because we don’t wont to reboot the server right now run
$ mount -a
to mount the new drive to Proxmox
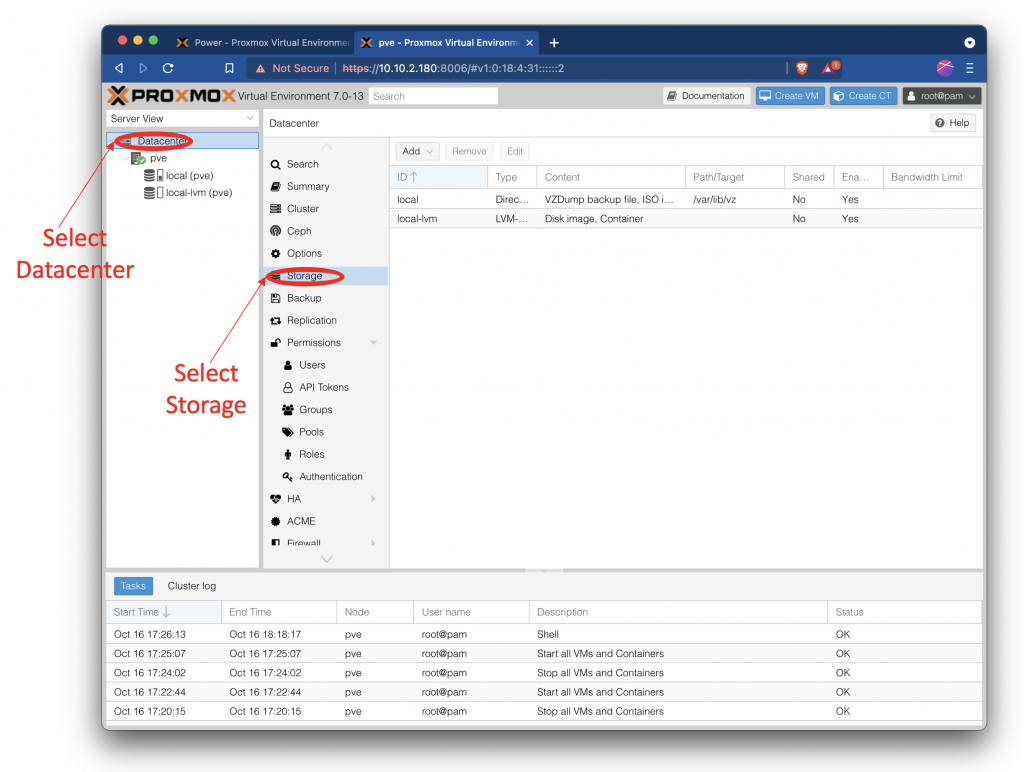
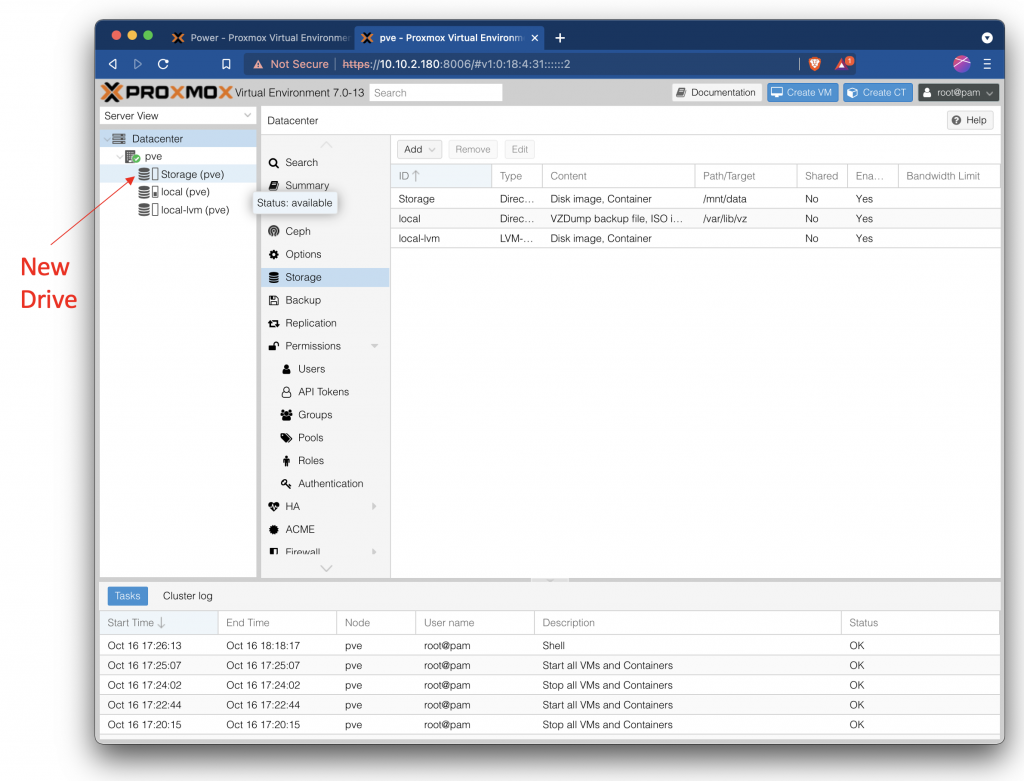
With the drive mounted you can close Shell, and go back to working with the web interface. To start adding your new drive to Proxmox web interface select Datacenter then select Storage.
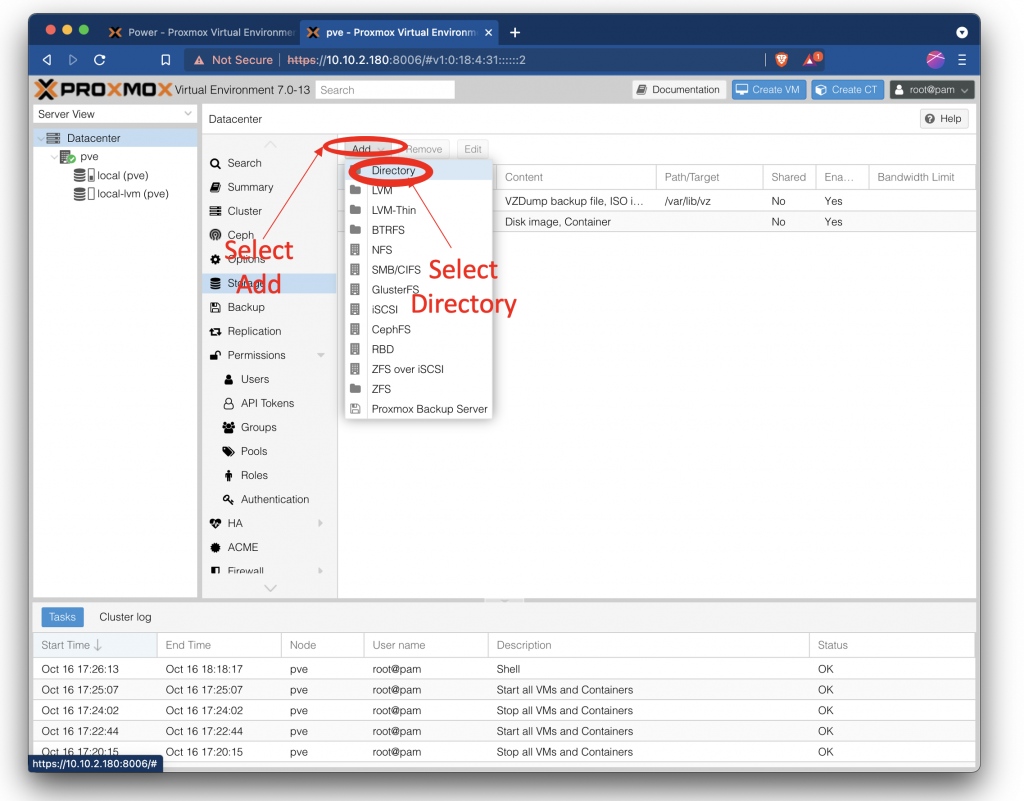
Inside of Storage Click Add dropdown then select Directory.
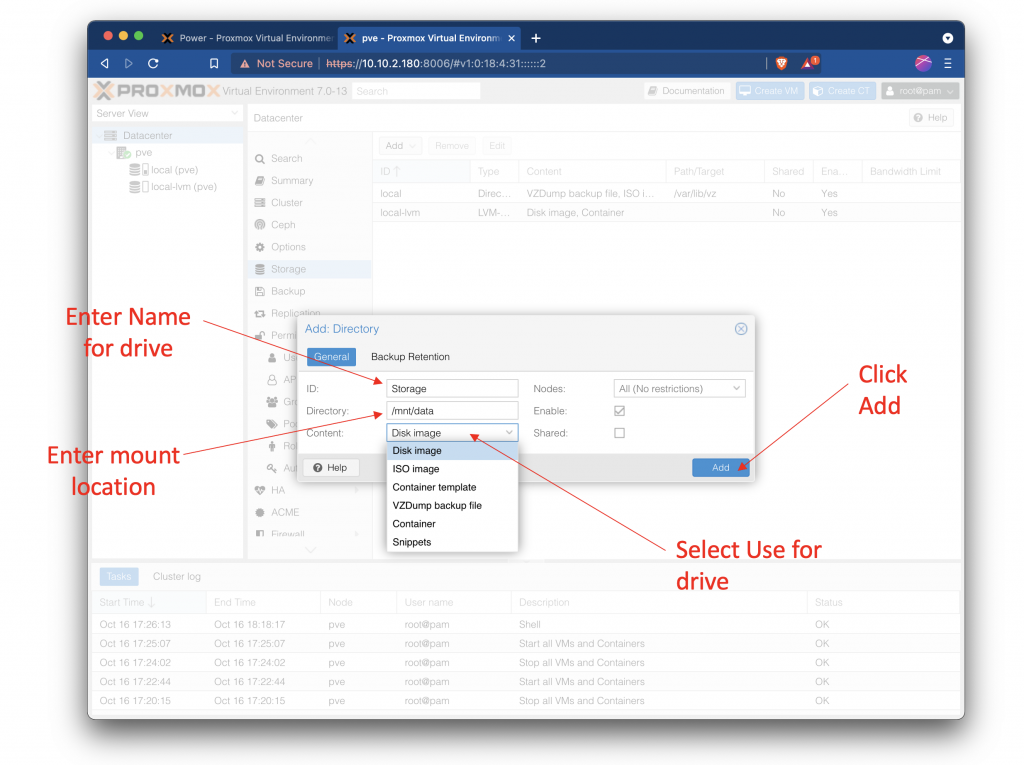
Once you have selected Directory it is time to fill out some info. For ID give your drive a name, for Directory enter the path to your mount point, then select what you will be using this drive to do in the Contents dropdown. After all this info has been entered click Add.
Now you shoud see your drive show up under your server in the web interface.
2 replies on “How to Add Storage Dive to Proxmox 7”
nano /ect/fstab
this is good
nano /etc/fstab
Yeah would be good to fix the ect etc typo for those like me who tend to copy-paste commands.