If you are like me and spend a good amount of time reading about all things home Lab you might have read and have been told that you can not have a Desktop with a LXC well I have found a way to in a reddit post.
The first thing you are going to need to do is to setup a container in Proxmox
now that you have a Ubuntu or Debian LXC setup it is time to start installing the desktop and the protocol that we use to view it.
the first thing to do is to update your system to do this run the command.
$ apt update && apt upgrade -y
after your LXC is up to date lets install the Desktop with the command.
$ apt install -y xfce4
you could also use LXDE or Mate if you would like.
Now we are going to install X2go X2go is what we will be using to view the desktop that we just installed to do this we will run the commands.
$ apt install x2goserver x2goserver-xsession -y
Note: you will also need to install the X2go client on your computer I will not show you how to do this today as windows mac and linux are all different.
Now that you have x2Go installed we need to add a new user as we only have a root user at this time and SSH will not work with user root by default to make a new user run the command.
$ adduser <username>
at this point you should have a working Desktop inside of an LCX.
In tonight’s tutorial, VE will show you how to host multiple web pages using a single Apache server.
First we need to start out by setting up an Apache server. We are going to do this in an LXC in Proxmox, but you can follow this tutorial on bear metal servers as well, just skip over the part of setting up the LXC in Proxmox.
To do this and to make it easer to skip over, we are going to follow a video that VE already has on making a container:
Now that we have a system or LXC with Ubuntu 21.04 installed we can start installing Apache by updating Ubuntu and while we are doing that, why not just install the updates as well? We can do that by running the following command:
$ sudo apt update && sudo apt upgrade -y
With the system updated and the updates installed, it is time to install Apache using the command:
$ sudo apt install apache2
At this point you might want to create a new user. You don’t need to do this but it is a good idea.
$ adduser [username]
Now add this user to sudo:
$ adduser [username] sudo
Reboot the server:
$ reboot
login with the new user:
Now that you are logged in to your new user account, it is time to turn off the root user. To do this run the command:
$ sudo passwd -l root
So with the new user and Apache installed, it is time to start setting up the two websites. To do this we first need to make the directories for the two sites using the following commands:
$ mkdir -p /var/www/[domain name 1].local/html
$ mkdir -p /var/www/[domain name 2].local/html
With the folders made that will how the two pages lets spend some time and make the two pages
Page 1
<!DOCTYPE html>
<html>
<body>
    <h1>Welcome to Web Page one</h1>
    <p>This is your first page thank you for fallowing this tutorial</p>
</body>
</html>
Page 2
<!DOCTYPE html>
<html>
<body>
    <h1>Welcome to Web Page two</h1>
    <p>This is your second page thank you for fallowing this tutorial</p>
</body>
With the two pages made, it is time to make the config file that Apache will need to serve up the two pages. The first this that we will have to do the make this happen is move directory that will hold the config file. We can do this by entering the command:
$ cd /etc/apache2/sites-available
In the sites-available folder we need to make 2 config files to tell Apache how we would like it to work with the ..html files that we made in the previous step. To do this we will start by entering the command:
$ sudo nano [domain name 1].conf
Inside of the nano text editor enter the lines
<VirtualHost *:80>
    ServerName [domain name 1].local
    DocumentRoot /var/www/[domain name 1].local/html
</VirtualHost>
press control + x save and exit then enter the command:
$ sudo nano [domain name 2].conf
Inside of the nano text editor enter the lines:
<VirtualHost *:80>
    ServerName [domain name 2].local
    DocumentRoot /var/www/[domain name 2].local/html
</VirtualHost>
Now it is time to tell Apache about the config files that we have made so that it will use them to host both pages. We will do that will the commands
$ a2ensite [domain name 1].conf
$ a2ensite [domain name 2].conf
Now that you have told Apache the start using the config files, reload Apache so that It will use them.
$ systemctl reload apache2
The last step is to configure you DNS settings to point to the IP address of the server.
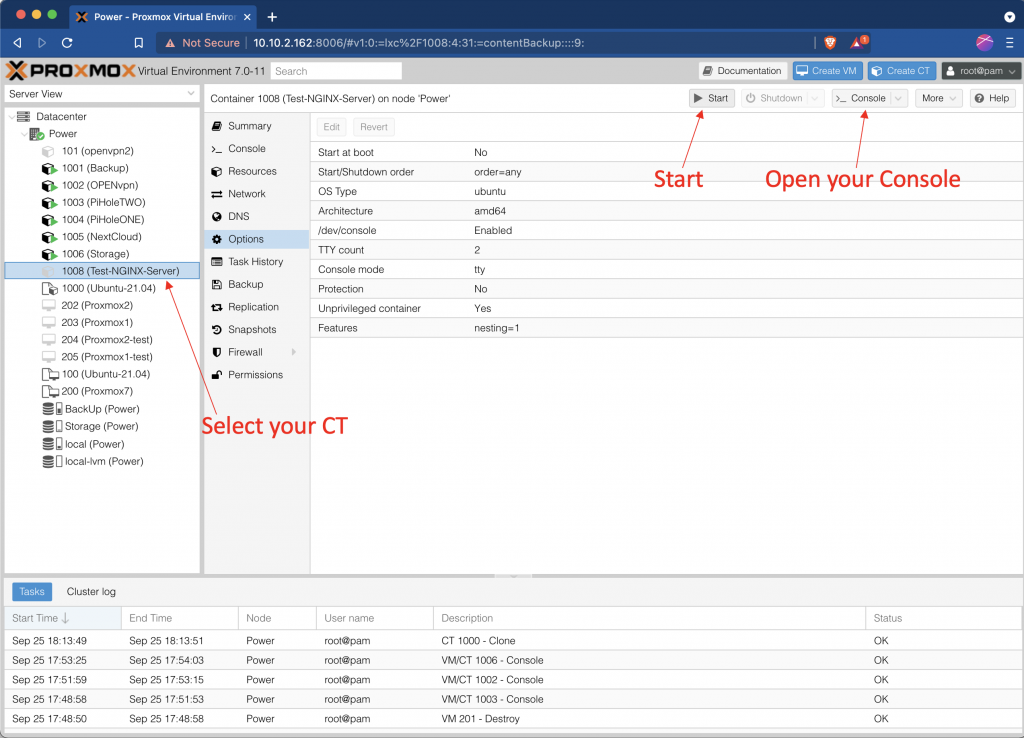
Start up your Proxmox web interface. When you have entered your web interface, make a new Container. If you do not know how to make a Container, here is a video about setting one up.
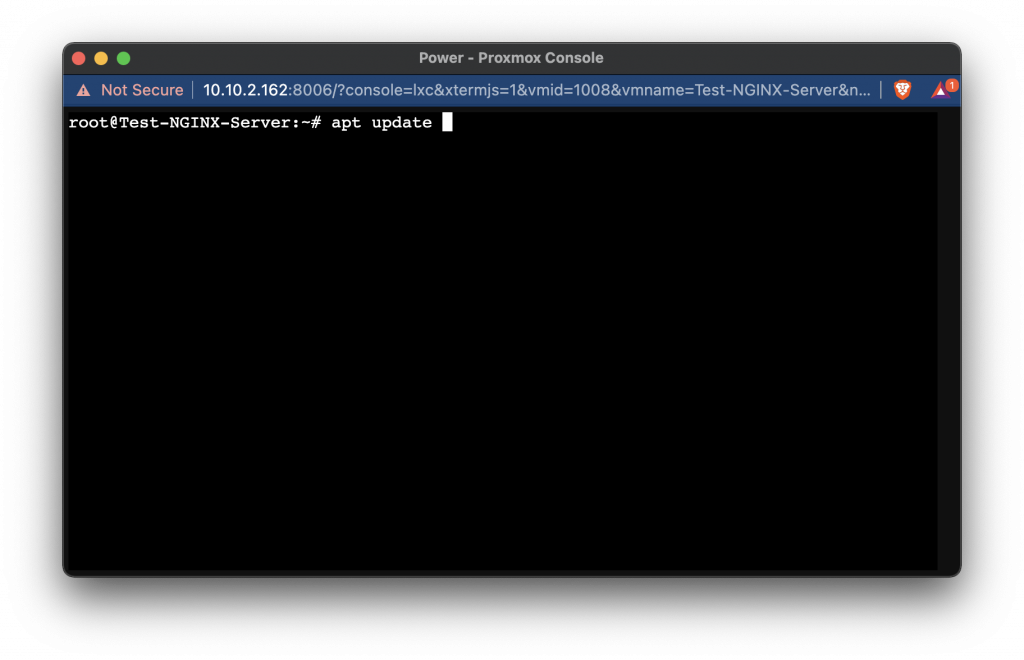
Now it is time to start installing NGINX.
The commands that you will be using are:
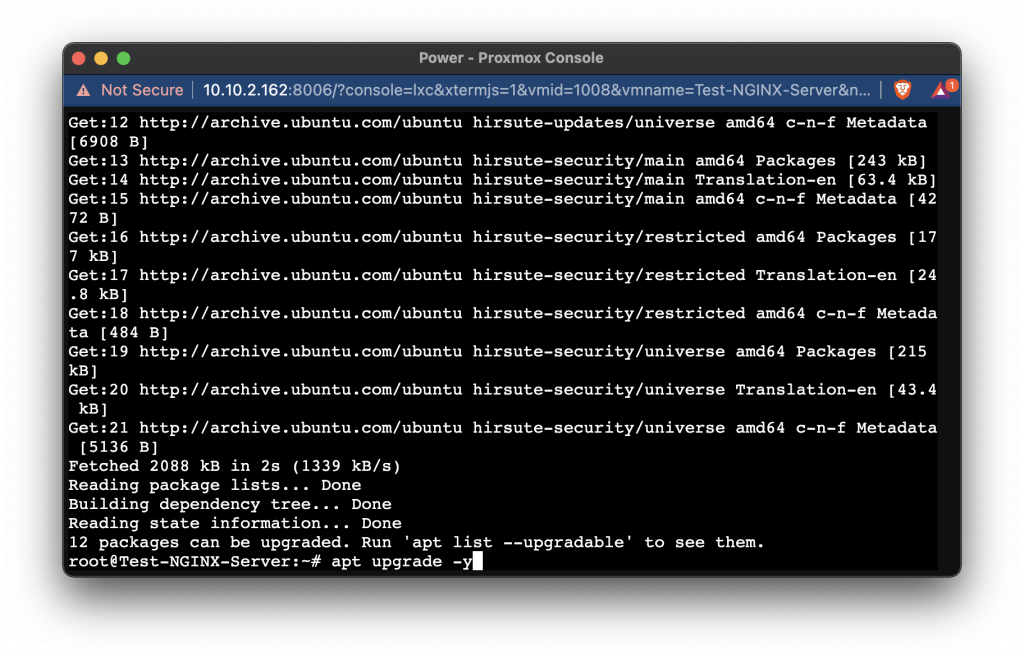
apt update && apt upgrade -y
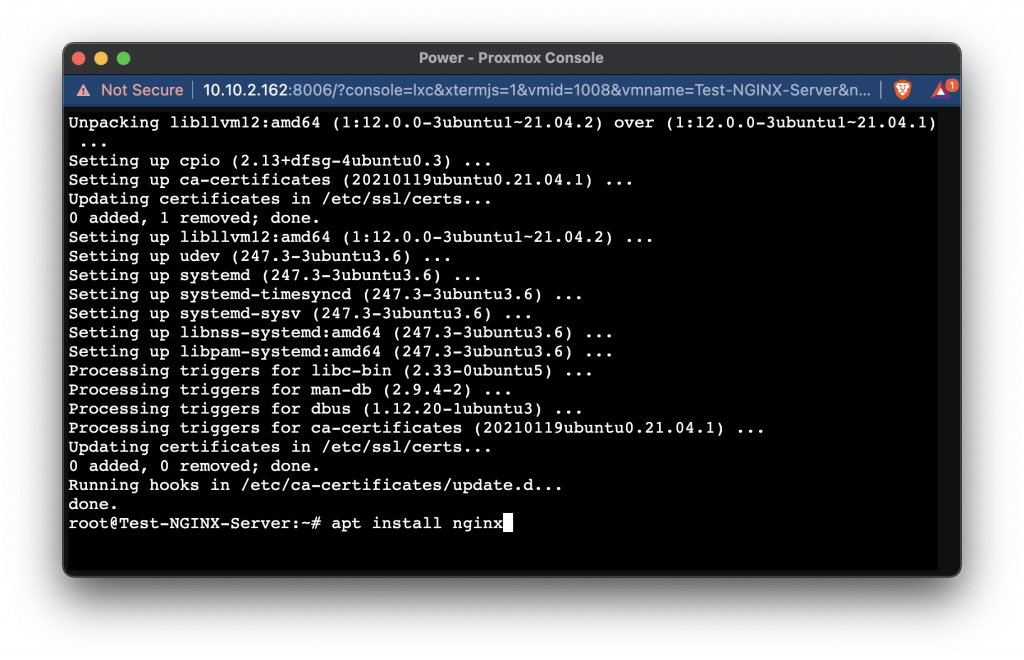
apt install nginx
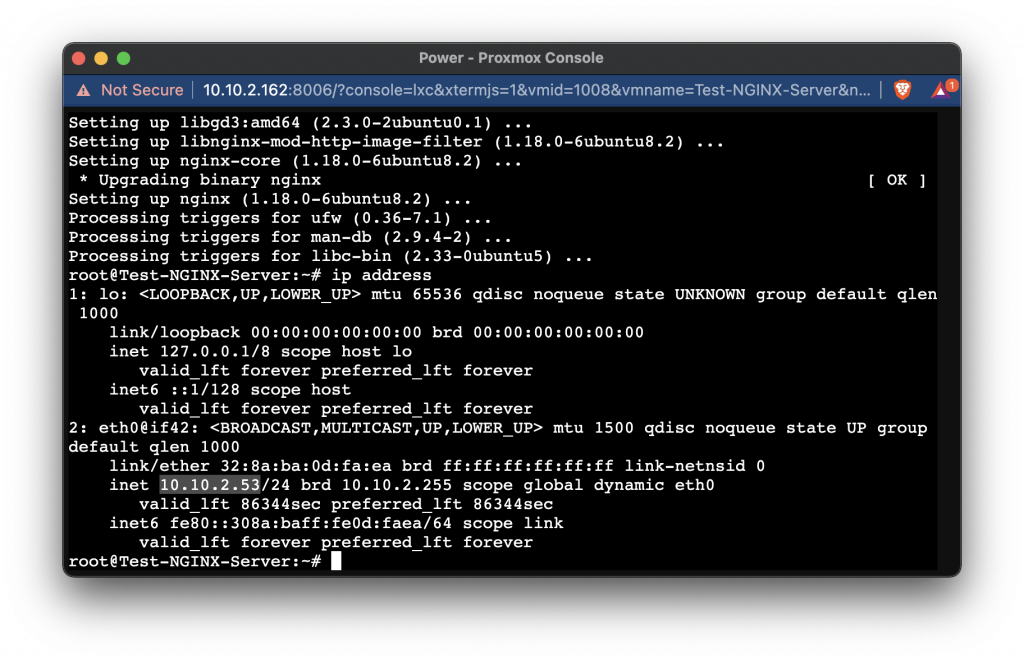
Now run the following command to uncover the IP address of the server:
ip address
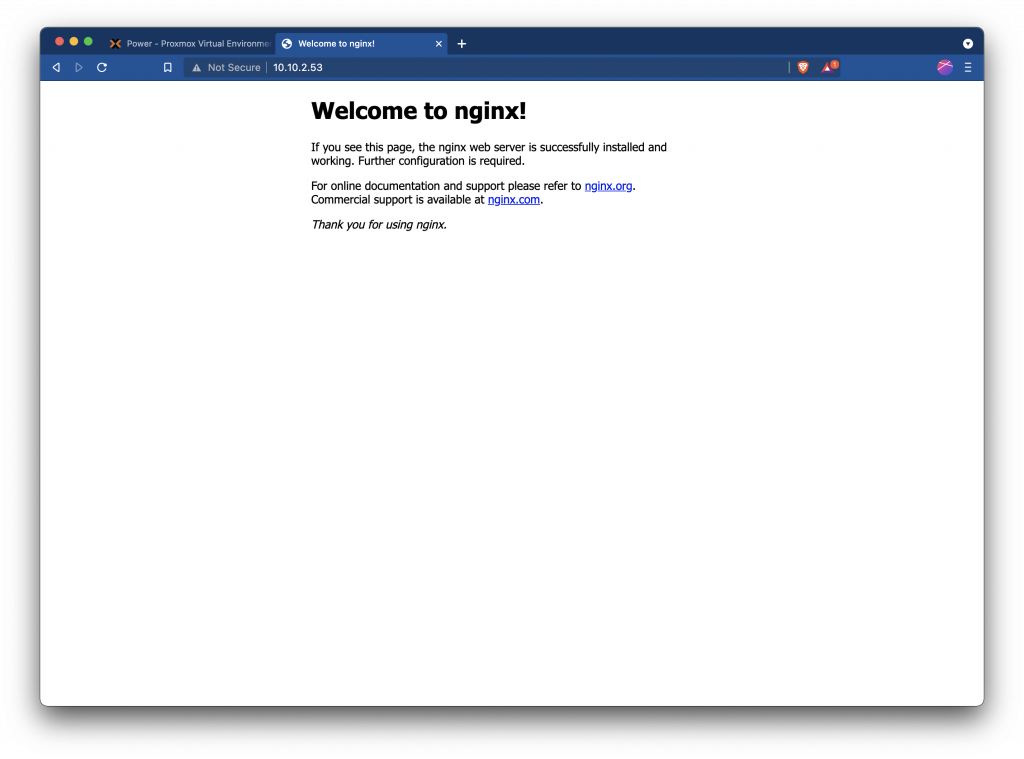
Now go to your web browser and enter the following in the URL field:
http://[your ip address]
If all is working well, you will see a screen like below.
To start making your own web page place it in /var/www/html/