Categories
Uncategorized

Controlling your 3D Printer with Proxmox

A big part of the post is reusing info from a post on the OctoPrint forum

https://community.octoprint.org/t/setting-up-octoprint-on-a-raspberry-pi-running-raspberry-pi-os-debian/2337: Controlling your 3D Printer with Proxmox

That being said it was not written to be installing on Ubuntu or in a VM so there are some more steps that we are going to need to take.

For this post I am going to assume that you know how to setup a vm and how to pass a usb port to a vm in Proxmox if you do not it will be covered in the video at the bottom.

Now that you have your VM of Ubuntu 22.04 running and your USB port for your printer passed to that VM it is time to start installing OctoPrint. The first thing that we you need to do is to update and upgrade your install of Ubuntu.

sudo apt update && sudo apt upgrade -y

now that you have your update done it is time to setup a new user OctoPrint is ment to be used with a user pi but Ubuntu dose not have this user by default like a Raspberry Pi would so we will need to set this up.

sudo adduser pi

now we need to give the user sudo rights

sudo adduser pi sudo

The last step for user config is to give the user the rights to use serial

sudo usermod -a -G tty pi
sudo usermod -a -G dialout pi
exit

Now log back in with the pi user

now lets go to root

cd ~

and install dependencies for OctoPrint

sudo apt install python3-pip python3-dev python3-setuptools python3-venv git libyaml-dev build-essential -y

make an folder for OctoPrint and move to the folder.

mkdir OctoPrint && cd OctoPrint

setup a virtual environment for python

python3 -m venv venv

Activate the environment

source venv/bin/activate

Now lets install OctoPrint

pip install pip --upgrade
pip install octoprint

Time to test the web interface

~/OctoPrint/venv/bin/octoprint serve

Go to a web browser and navigate to http://<your IP>:5000

the last step is to set up auto start up. To do this we are going to download this script and move it to systemd/system

wget https://github.com/OctoPrint/OctoPrint/raw/master/scripts/octoprint.service && sudo mv octoprint.service /etc/systemd/system/octoprint.service

Adjust the path if needed if you fallowed this post your /etc/systemd/system/octoprint.service shoud look like this

ExecStart=/home/pi/OctoPrint/venv/bin/octoprint

now start you service

sudo service octoprint start
Categories
Uncategorized

Defunding Proxmox, Guarding SSH and Web Interface from Brute-Force Attacks with Fail2ban

Proxmox has some well known ports open and a root user account that needs to be open for stuff to work right. This can lead to problems when trying to secure your Proxmox server here is one step you can take to help secure your server.

First we need to install Fail2ban

apt install fail2ban -y

Now it is time to start configuring fail2ban

nano /etc/fail2ban/jail.local

in this file we are going to load a config that will help us guard both the ssh port 22, and the Proxmox web interface on port 8006

[sshd]
port    = ssh
logpath = %(sshd_log)s
enabled = true

[proxmox]
enabled = true
port = https,http,8006
filter = proxmox
logpath = /var/log/daemon.log
maxretry = 3 
# 1 hour
bantime = 3600

Fail2ban needs a filter to know what a bad login looks like on the web interface

nano /etc/fail2ban/filter.d/proxmox.conf
[Definition]
failregex = pvedaemon\[.*authentication failure; rhost=<HOST> user=.* msg=.*
ignoreregex =

Once done we need to restart fail2ban

systemctl restart fail2ban

To see if the config is working

SSH

fail2ban-client status sshd

Web Interface

fail2ban-client status proxmox
Categories
Proxmox

NFS Server in Proxmox CT, LXC, Container

I am going to start this guide off at the point of having made an unprivileged container. For this guide we are using a ubuntu 22.04 image.

Select your Proxmox server in the datacenter menu and open the Shell

Take note of your CTs id number

go to Shell

Enter the command

nano /etc/pve/lxc/<CT #>.conf

Add the below line at the bottom

lxc.apparmor.profile: unconfined 

Now go back to the Web Interface START the CT and open the console

apt update && apt upgrade -y

Use the command

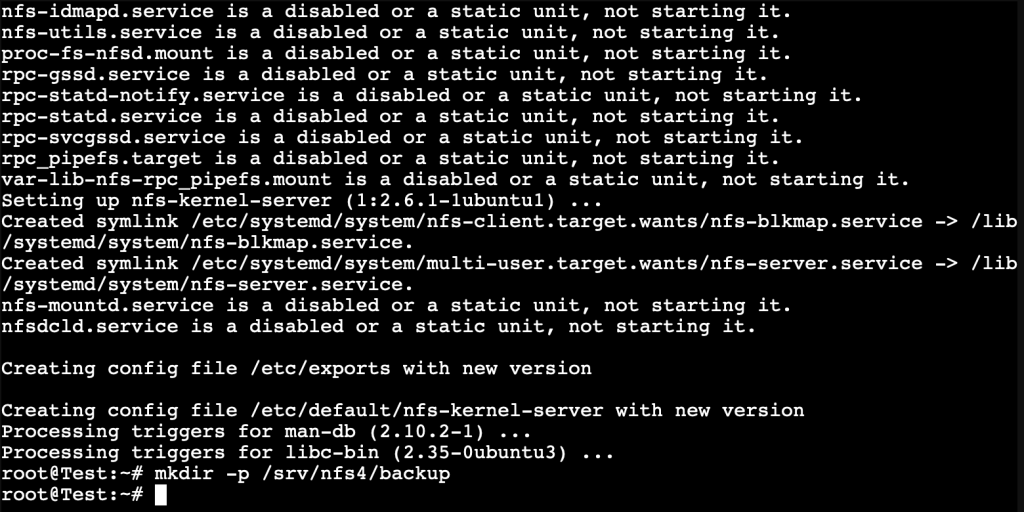
apt install nfs-kernel-server -y 

To install the NFS server

After installing NFS server lets add a folder to store the shared data in

mkdir -p /srv/nfs4/backup

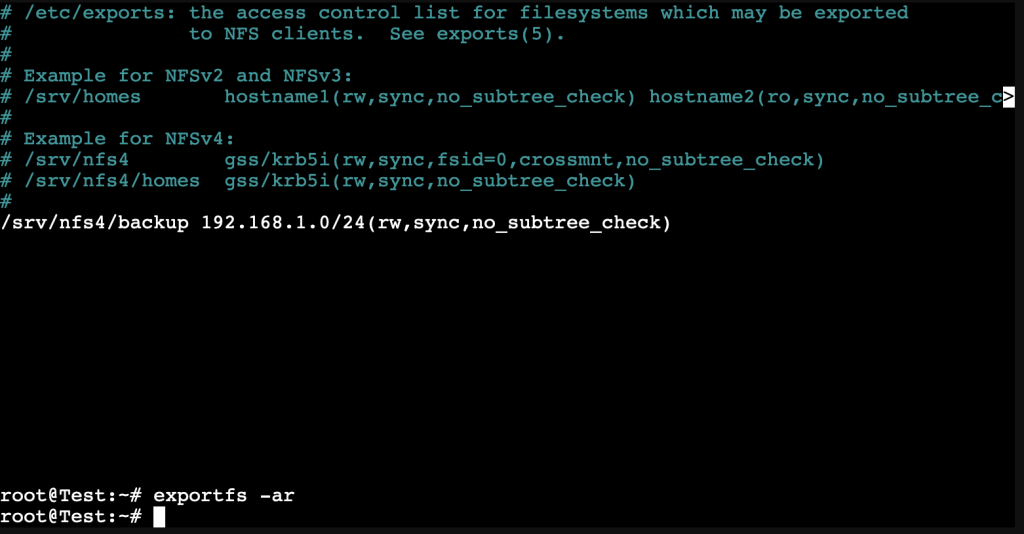
We now need to edit the exports file to tell the server what folder and how to share the folder

nano /etc/exports
/srv/nfs4/backups 192.168.1.0/24(rw,sync,no_subtree_check)

Run

exportfs -ar

to modify the exports file

Now it is time to start using your new NFS server

if you find that you have problems writing to the folder you might need to run

chmod 777 <file path>

This will loosen up the user write restrictions and allow everyone to write files to this folder.