I am going to start this guide off at the point of having made an unprivileged container. For this guide we are using a ubuntu 22.04 image.
Select your Proxmox server in the datacenter menu and open the Shell

Take note of your CTs id number
go to Shell
Enter the command
nano /etc/pve/lxc/<CT #>.conf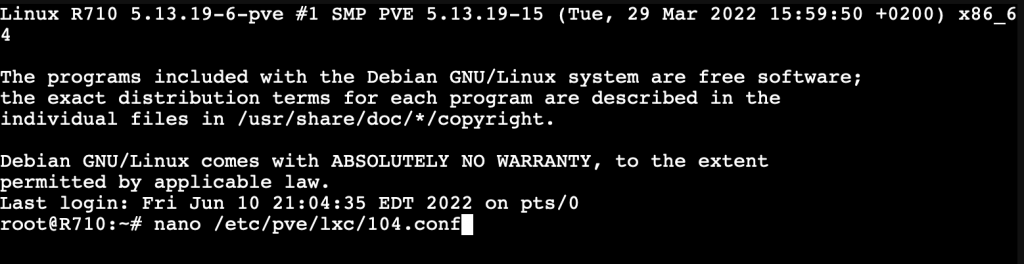
Add the below line at the bottom
lxc.apparmor.profile: unconfined 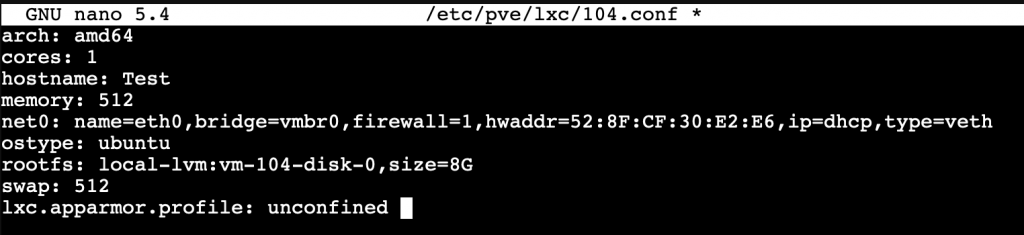
Now go back to the Web Interface START the CT and open the console
apt update && apt upgrade -yUse the command
apt install nfs-kernel-server -y To install the NFS server
After installing NFS server lets add a folder to store the shared data in
mkdir -p /srv/nfs4/backup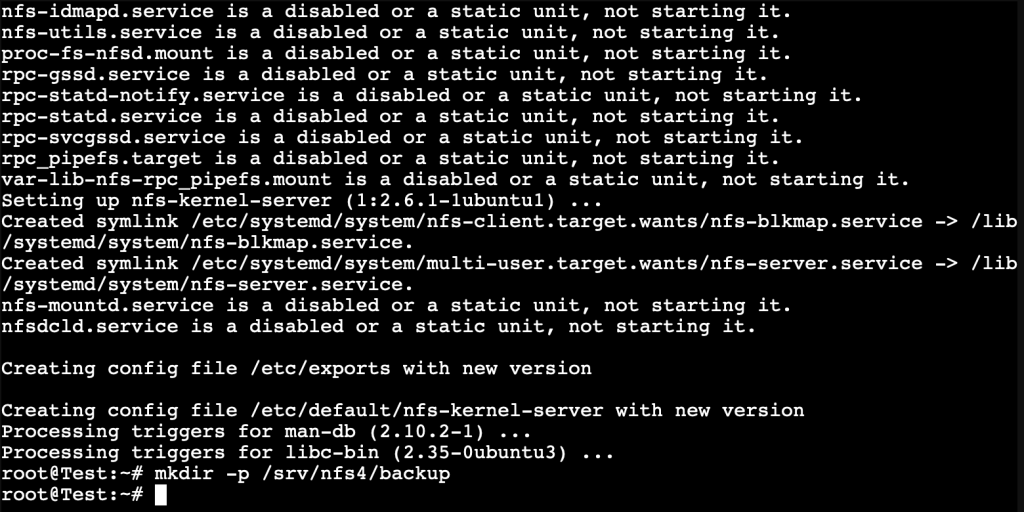
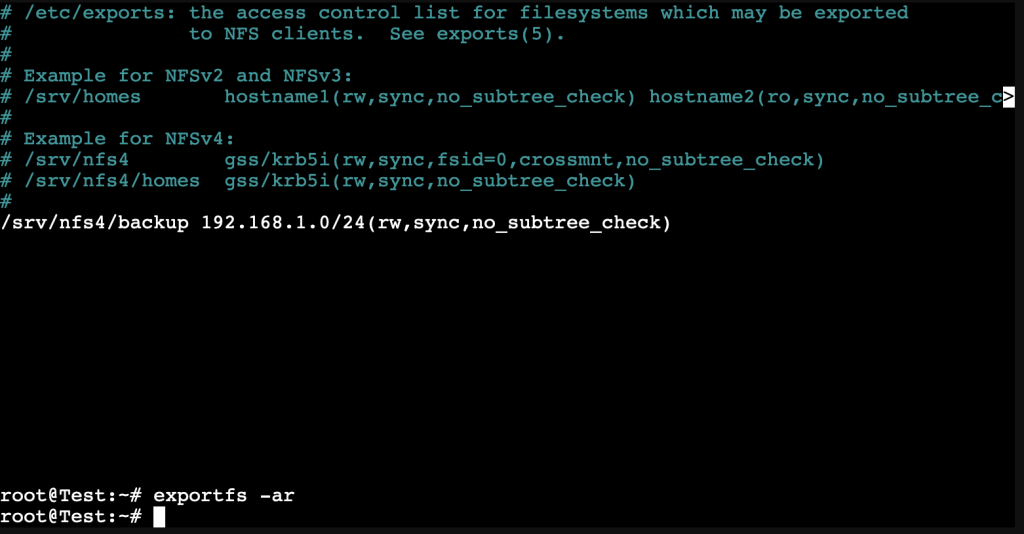
We now need to edit the exports file to tell the server what folder and how to share the folder
nano /etc/exports/srv/nfs4/backups 192.168.1.0/24(rw,sync,no_subtree_check)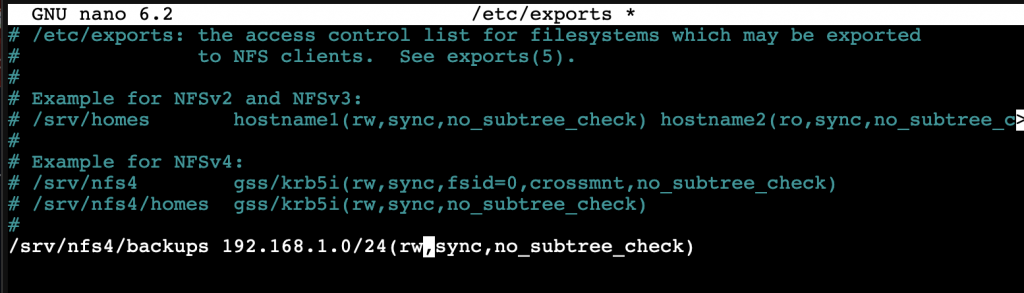
Run
exportfs -arto modify the exports file
Now it is time to start using your new NFS server
if you find that you have problems writing to the folder you might need to run
chmod 777 <file path>This will loosen up the user write restrictions and allow everyone to write files to this folder.