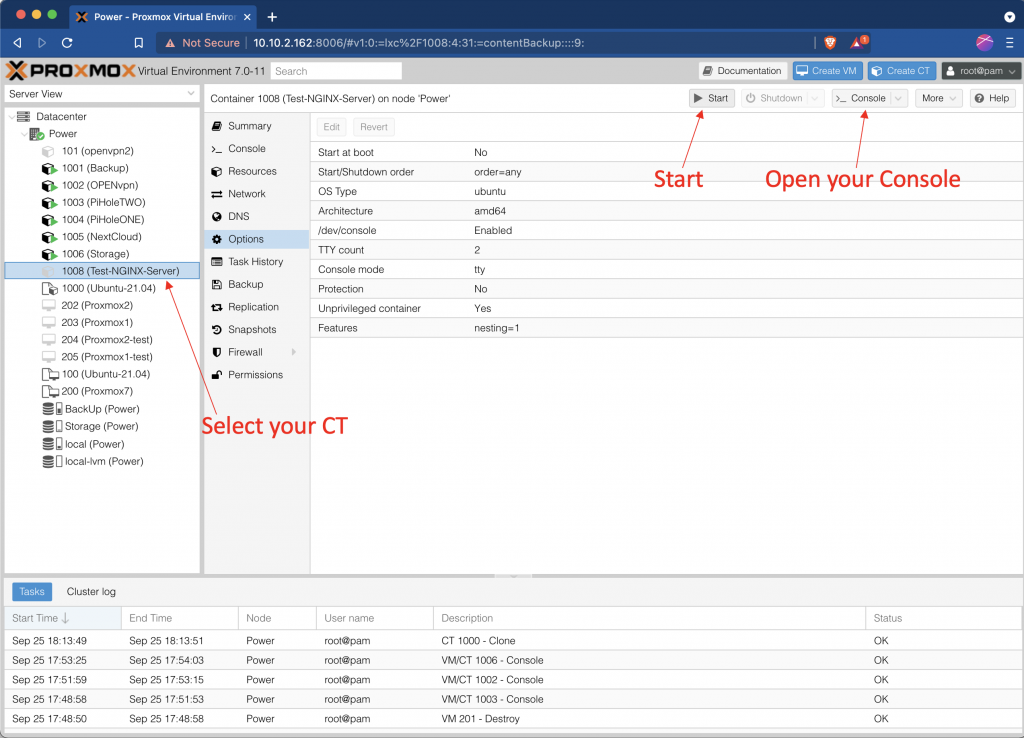
Start up your Proxmox web interface. When you have entered your web interface, make a new Container. If you do not know how to make a Container, here is a video about setting one up.
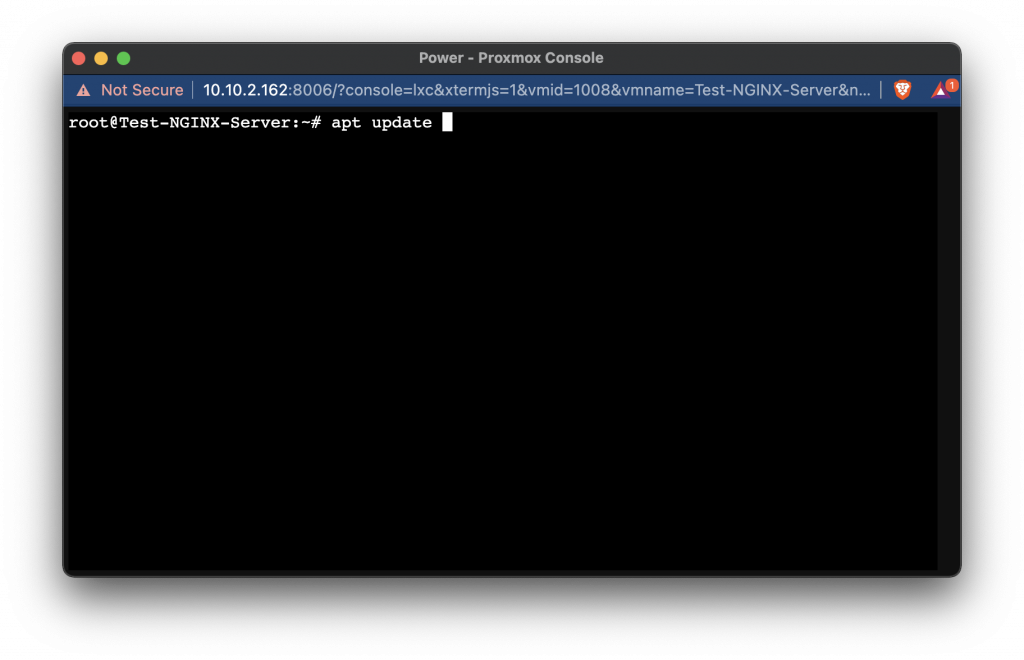
Now it is time to start installing NGINX.
The commands that you will be using are:
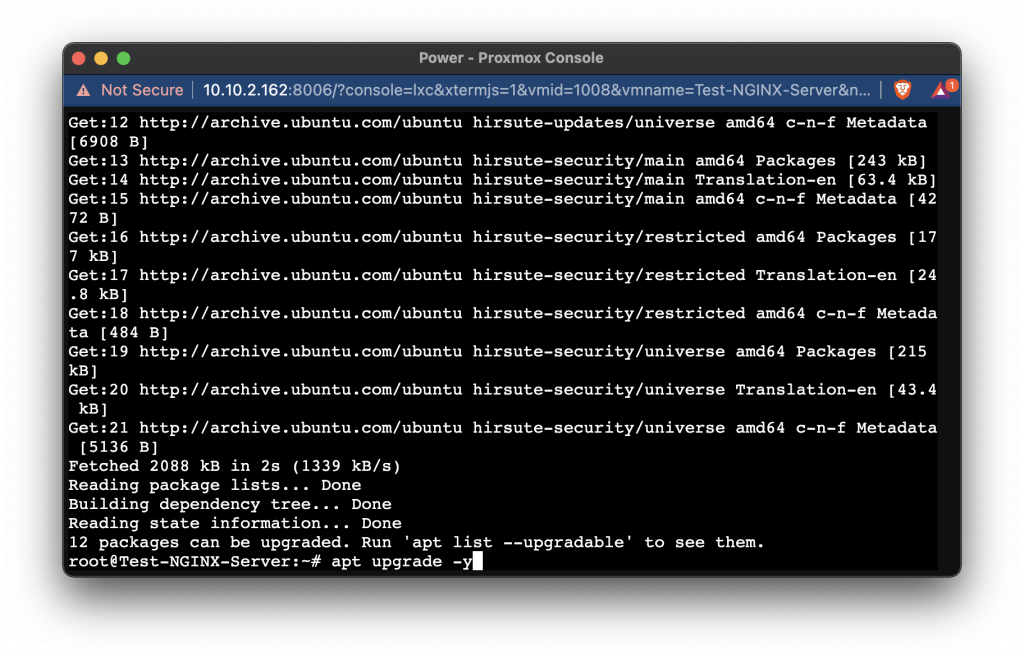
apt update && apt upgrade -y
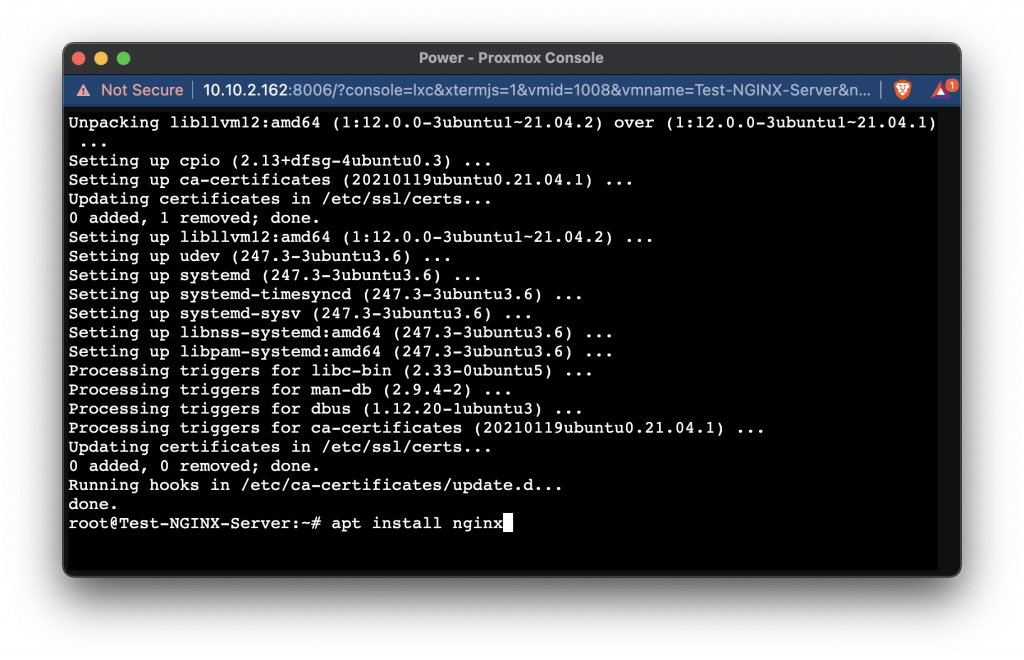
apt install nginx
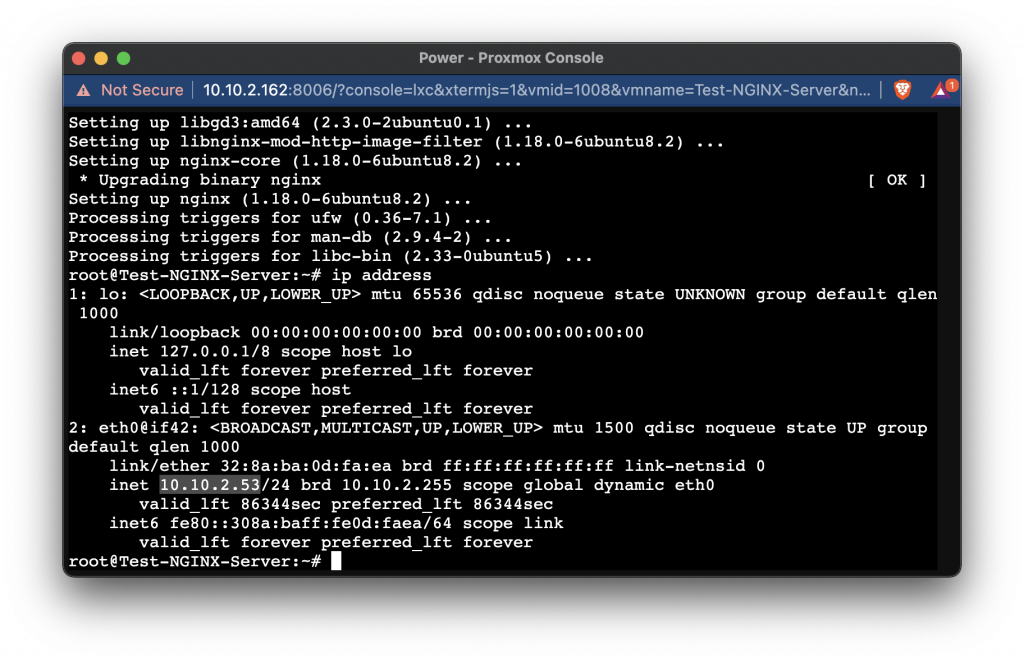
Now run the following command to uncover the IP address of the server:
ip address
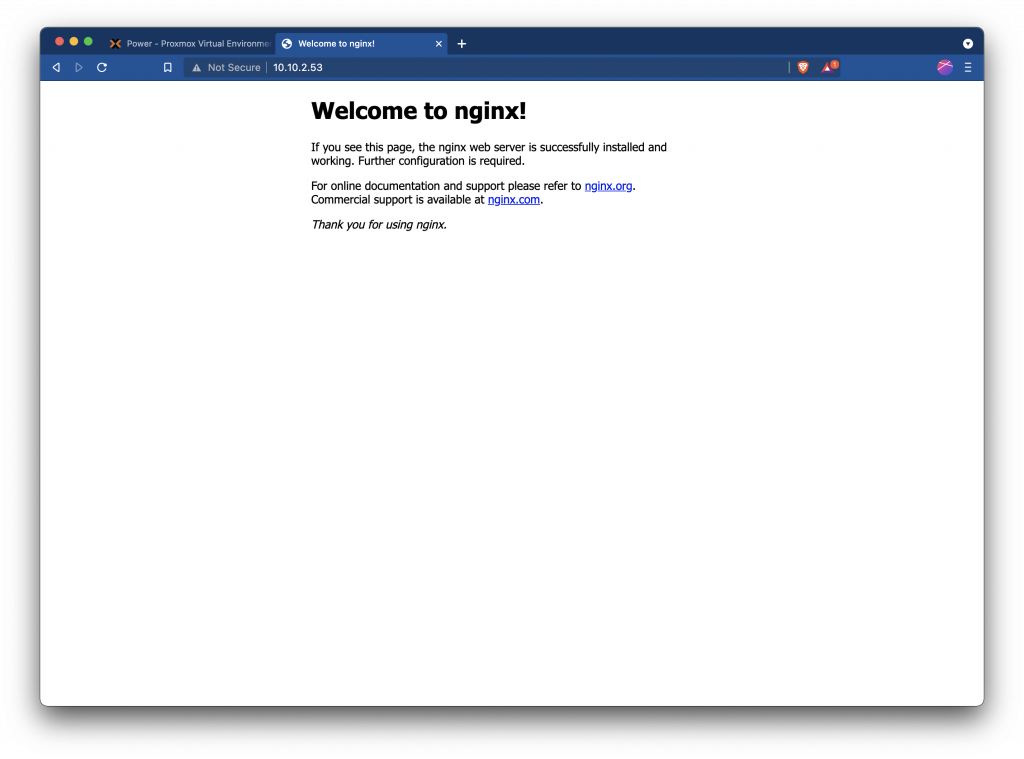
Now go to your web browser and enter the following in the URL field:
http://[your ip address]
If all is working well, you will see a screen like below.
To start making your own web page place it in /var/www/html/
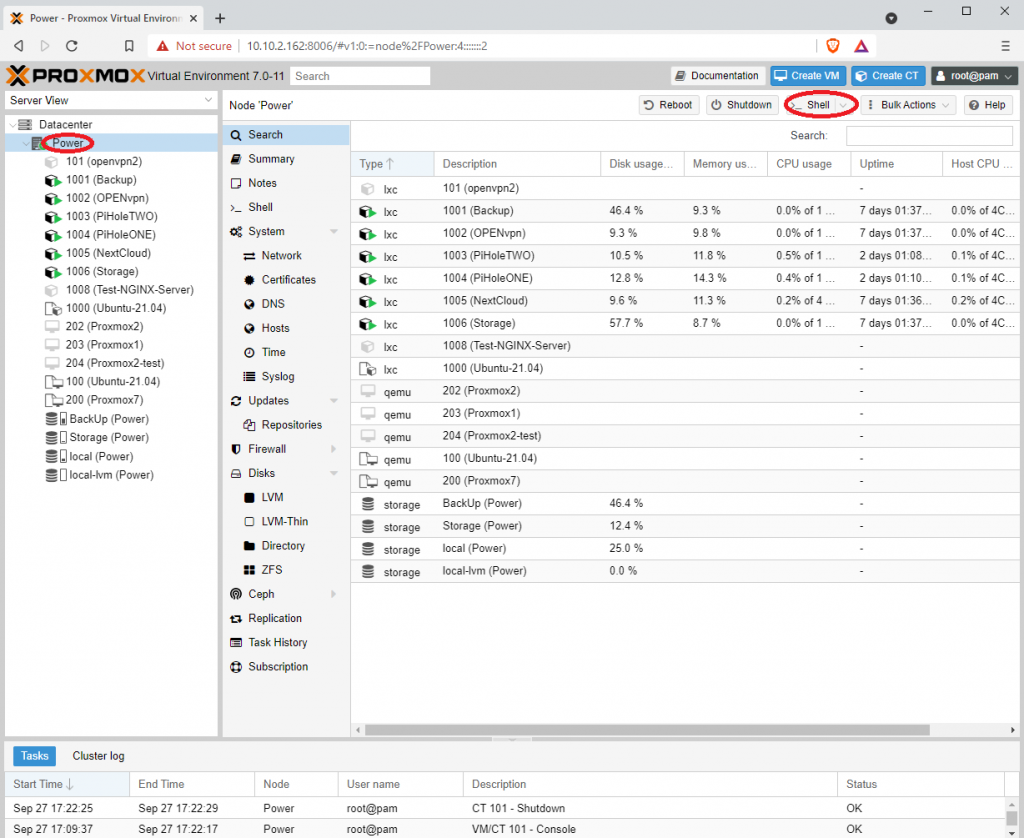
it is quite simple to add a Samba share to Proxmox as a storage drive. You are going to need to open you Proxmox web interface and start a shell session link below.
Now with your shell session started you can start entering commands the first command that you need to enter i
$ apt install cifs-utils -y
After cifs-utils is installed you can enter the command
$ mkdir /media/share
This command will make a folder called share in the media directory.
Now it’s time to make the file that’s going to hold credentials for the login of SMB share. to do this were going to use nano text editor by running the command.
$ nano ~/.smb
Now place the contents below in the file. SMB_username equals the username of your SMB login, SMB_password equals the password of your SMB login.
username=smb_username password=smb_password
Press ctrl + x, Y to save and Enter
Now it is time to use nano one more time to edit a system file called fstab
$ nano /etc/fstab
and were going to add the below line to the fstab system files.
//[ip of server]/[name of share] /media/share cifs credentials=/root/.smb,users,rw,iocharset=utf8
IP server equals the IP address to your SMB share, and name of share equals the name that you have called the share when configuring your SMB server.
Your last step is going to need to run the below command this command mounts the added storage directory to your products on server.
$ mount -a
There you have it you have successfully mounted your SMB share to your Proxmox server but you can’t yet begin working with this share using your Proxmox web interface or your Proxmox commands because we have not yet configured Proxmox to use this share.
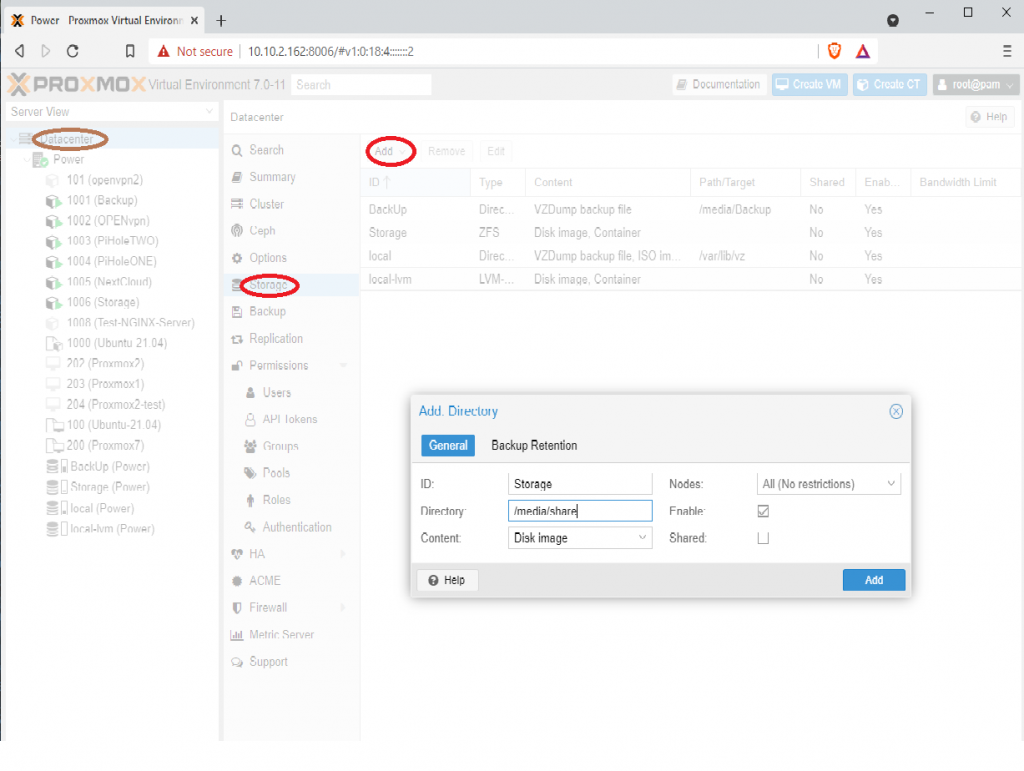
To do this were going to head back to our Proxmox web interface and select the datacenter drop-down in the left-hand corner. Now that we have selected the datacenter we can move to the next column and select storage. With storage selecting you should see a screen appear with three buttons at the top were going to press the add button select directory, and fill out the ID with our desired name for the storage. then fill out the directory as the mount path that we as configured in the previous tutorial in our case it’s going to be /media/share.
Tonight we’re going to have to look at setting up OpenVPN and LXC, commonly referred to as Linux Container. Linux containers are a lightweight solution for virtualizing operating systems and can often be used with very little resource overhead, sometimes even sharing resources with other containers on the virtualization host.
First we’re going to need to set up a container using the Proxmox web interface. If you not know how to do this follow this video:
Now that we have set up a new container, we can now open the shell for our Proxmox server. You can do this by clicking on the server name in the left-hand bar and then moving to the right hand top corner, you should see a button called “shell”.
With this shell terminal open we can start entering commands to begin configuring our container to be used with OpenVPN:
# nano /etc/pve/lxc/[container number].conf
Now that you're inside of the nano text editor we need to modify the configuration file with the lines below
lxc.cgroup.devices.allow: c 10:200 rwm lxc.mount.entry: /dev/net dev/net none bind,create=dir
Now you can save the file and exit the nano text editor
Enter the command below
# chown 100000:100000 /dev/net/tun
This command will reconfigure the owner of the file to allow and unplugged which contain access after it begins running
We can check that we have configure the permissions correctly for this fine by running the command below
# ls -l /dev/net/tun
The output should look something like this crw-rw-rw- 1 100000 100000 10, 200 Dec 22 13:26 /dev/net/tun
Now it is time to return to your Proxmox web interface and start the container so we can start the installation process of OpenVPN
With our newly configured container running it is time to click on the console button and begin setting up openVPN by running the commands below
After you follow the onscreen tutorial for the steps your new VPN client configuration file will be created this configuration file can be found in the /root directory
There are many different ways to transfer this file to your client but one way I like if using SSH is the SCP command
If you choose to use SCP command your command will be formatted like the one below
# scp [user name]@[ip of lxc]: [path of file(/root)] [path to store file]