If you are like me and spend a good amount of time reading about all things home Lab you might have read and have been told that you can not have a Desktop with a LXC well I have found a way to in a reddit post.
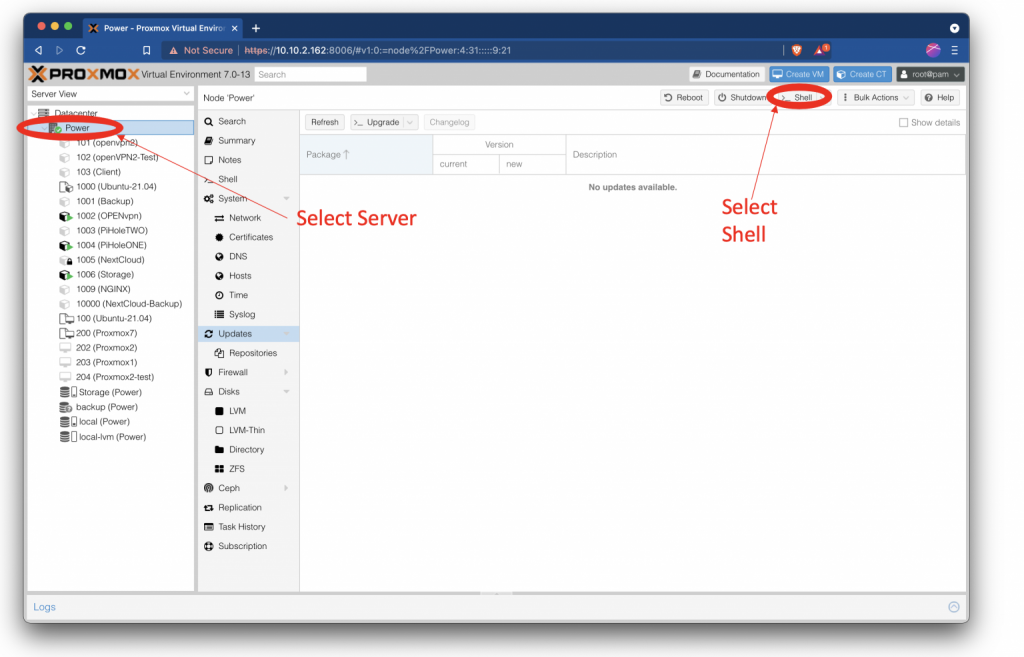
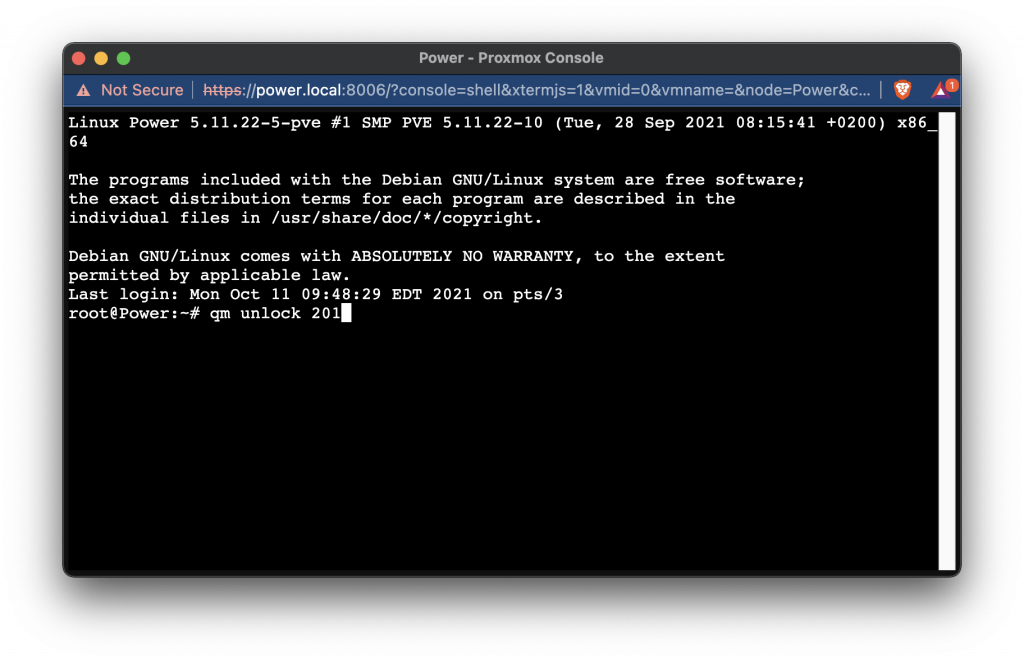
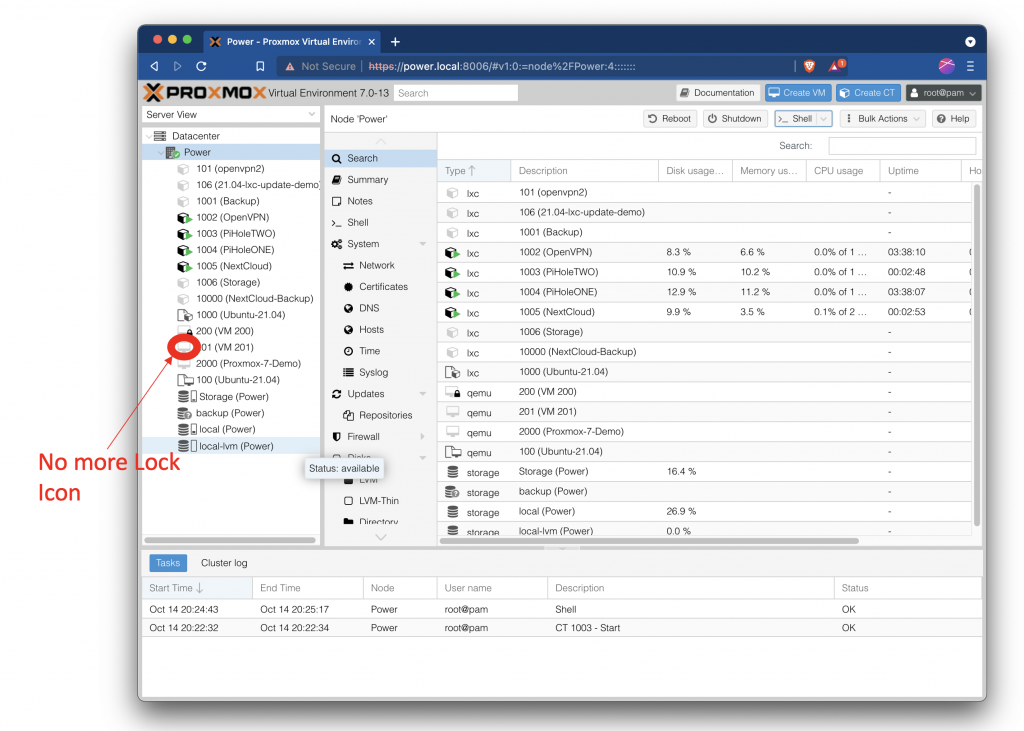
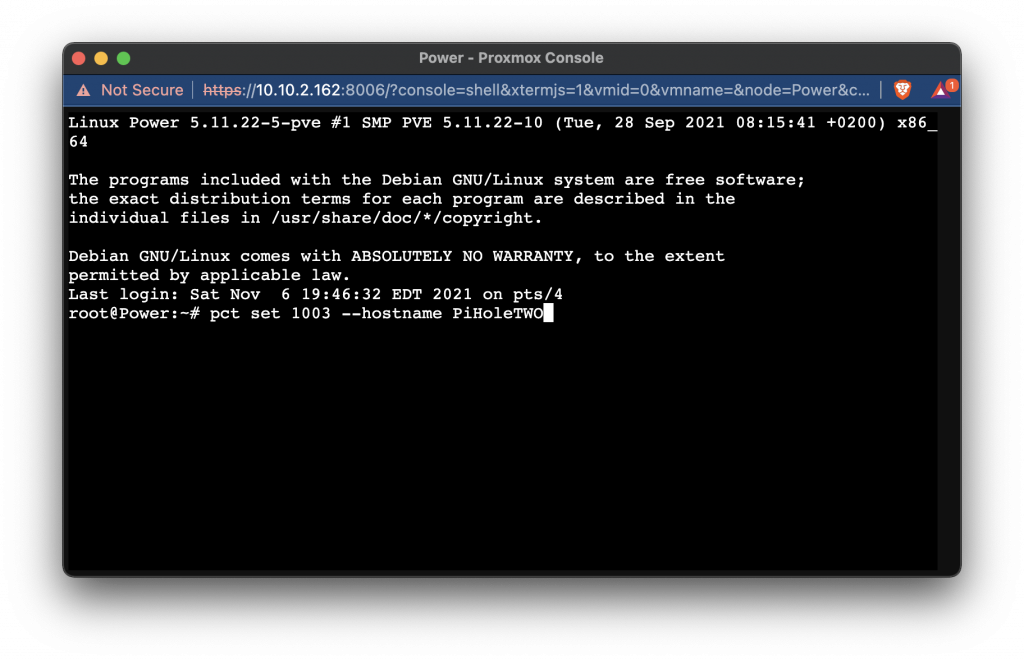
The first thing you are going to need to do is to setup a container in Proxmox
now that you have a Ubuntu or Debian LXC setup it is time to start installing the desktop and the protocol that we use to view it.
the first thing to do is to update your system to do this run the command.
$ apt update && apt upgrade -y
after your LXC is up to date lets install the Desktop with the command.
$ apt install -y xfce4
you could also use LXDE or Mate if you would like.
Now we are going to install X2go X2go is what we will be using to view the desktop that we just installed to do this we will run the commands.
$ apt install x2goserver x2goserver-xsession -y
Note: you will also need to install the X2go client on your computer I will not show you how to do this today as windows mac and linux are all different.
Now that you have x2Go installed we need to add a new user as we only have a root user at this time and SSH will not work with user root by default to make a new user run the command.
$ adduser <username>
at this point you should have a working Desktop inside of an LCX.
Note: X2go will also let you run programs.